Showing posts with label 2008. Show all posts

Wednesday, February 4, 2009

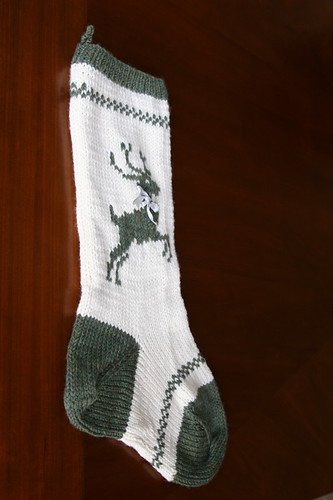
Reindeer Stocking


Completed: December 2008

Pattern: Cascade Christmas Stocking, by Marji LaFraniere

Yarn:
  • Cascade 220 Wool (100% merino), #8010, 1 x 220yd/100g
  • Cascade 220 Heathers (100% merino), #9338, 1 x 220yd/100g

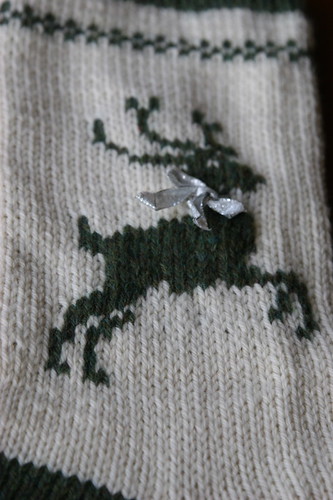
    Notes:The construction of this stocking was like the Christmas tree stocking. The reindeer motif was from a DROPS Sweater. I really liked how interesting and dynamic this reindeer looked to me compared to some of the other charts available. I did think the little white spots on its underside looked a bit odd, though, so I modified that part a little. The last little detail is a silver ribbon tied around the neck.

  • Sunday, December 21, 2008

    Calm


    Completed: December 2008

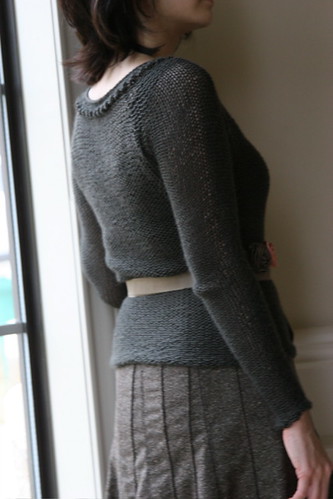
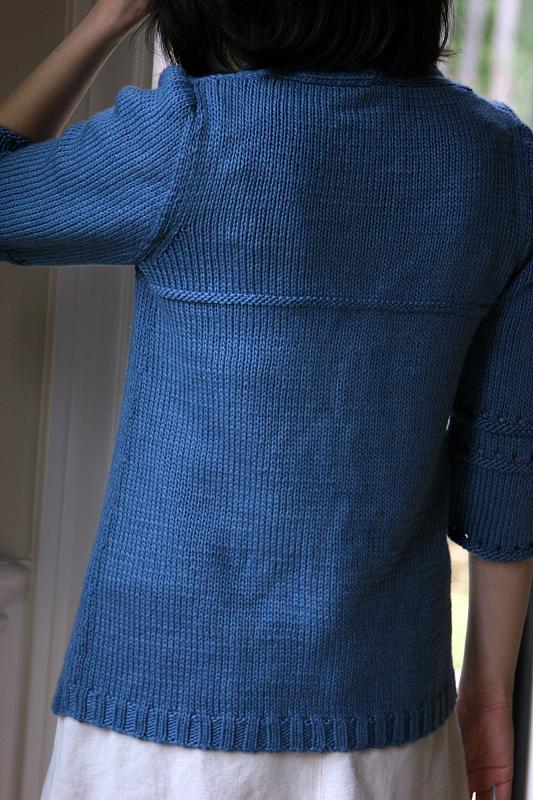
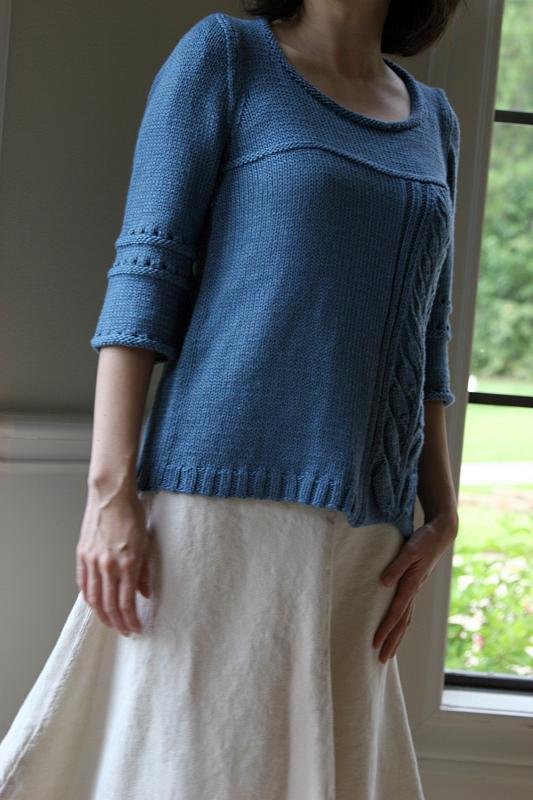
    Pattern: Calm, The Dark House Collection, by Kim Hargreaves

    Yarn: Blue Sky Alpacas Alpaca & Silk (50% alpaca, 50% silk), #134, 3 x 146yd/50g

    Notes: I knit this at a smaller gauge since the yarn I’m using has less of a “halo” than does Kidsilk Aura and it just looked too naked at the pattern gauge, so I had to make stitch and row count modifications accordingly.

    I knit the body and sleeves separately in the round, inside out, and then joined them together at the yoke to continue knitting in the round. The neckline was picked up and (surprise!) knit in the round. To do this, you can omit the k1 seam stitches on the 1st round of the lace and do the 2nd round as a p2tog, yfwd (or at least that’s how I did it--may or may not be correct).

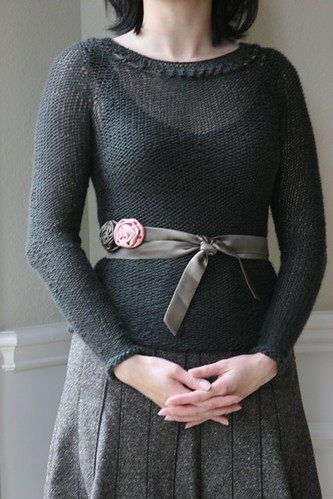
    I don’t like this top as much as I thought I would, but I think that’s my own fault. I wanted to bring the neckline up so that it wasn’t quite the off-the-shoulder look, but I think I might have brought it up too far. Because of this, the lace around the neckline, which is the most charming part, IMO, is kind of hard to see. Also, I think I made the sleeves a bit too snug, even after adjusting for gauge. If I try to pull my arms out of them too quickly, the effect is like a Chinese finger puzzle. All in all, though, it’s still quite wearable.

    The yarn is beautiful. My skin was too sensitive for the recommended Kidsilk Aura, so I searched around for awhile for a suitable substitution. The Blue Sky Alpaca & Silk was light and comfortable and so snuggly!

    Tuesday, December 16, 2008

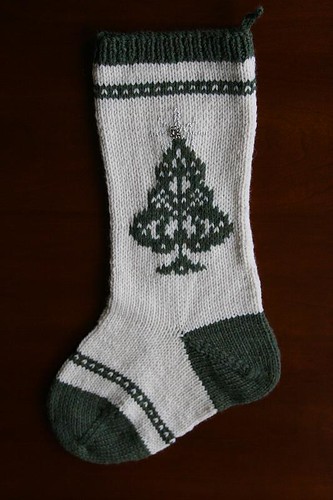
    Christmas Tree Stocking


    Completed: December 2008

    Pattern: Cascade Christmas Stocking, by Marji LaFraniere

    Yarn:
  • Cascade 220 Wool (100% merino), #8010, 1 x 220yd/100g
  • Cascade 220 Heathers (100% merino), #9338, 1 x 220yd/100g
  • Berroco Lumina (54% Cotton, 36% Acrylic, 10% Polyester), #1625, remnants

    Notes: I knit the top portion of the stocking flat, rather than in the round. I started by casting on 70 sts on smaller needles and did 1x1 ribbing for 6 rows. On the next row, I knit, switching to larger needles and decreasing 8 sts evenly across. I left a long tail from the cast-on, which was later used to form a crochet chain for the hanging loop, as well as to help form the seam.


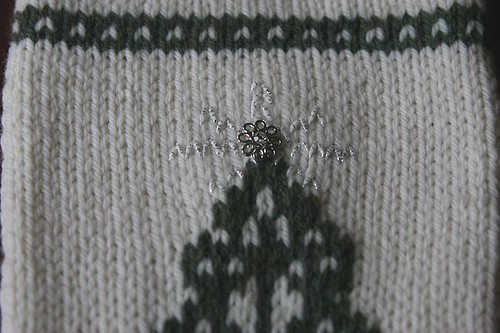
    The Christmas tree motif comes from Eli’s Christmas Stocking by Meg Swansen and that portion of the stocking uses a hybrid of intarsia and stranding. I don’t have a lot of experience with colorwork, and it shows. You can see how the columns of stitches pull in where the Christmas tree is. The “star” at the top is a button sewn on, and Berroco Lumina is duplicate stitched around the star to produce a bit of silvery shimmer.


    After the Christmas tree was completed, I joined to knit the remainder of the stocking in the round.
  • Saturday, December 13, 2008

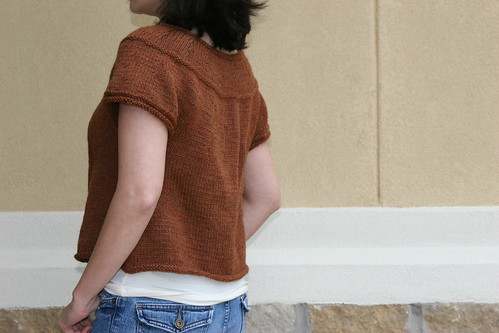
    Loppem


    Completed: December 2008

    Pattern: Loppem, Norah Gaughan Volume 3

    Yarn: Cascade 220 Heathers (100% merino), #2453, 3 x 220yd/100g

    Notes: I just loved the picture of this in the pattern booklet, and there are lots of cute ones on Ravelry. I do like the design, but I'm not sure that the shape of it really fits me the way that I'd like it to. It is a smidge too big in the shoulder area and it is more flared than I like. But that's okay--I think this one will still see some wear.


    If you plan to make this, be sure to look for the errata because there are a lot of corrections. I stayed pretty true to the pattern, except that I changed the placement of the yoke decreases so that they'd line up better. I also moved the buttonhole over a little bit: k2, k2tog, yo, k1. The buttonhole won't be symmetric within the garter ridge panel, but once you put a button in, it'll look centered.

    Friday, November 21, 2008

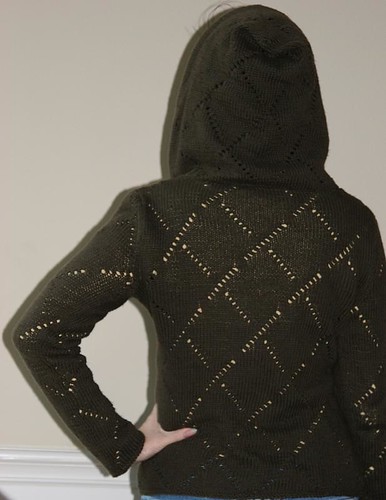
    Make It Modern Hoodie


    Completed: November 2008

    Pattern: Soft Linen Hoodie, Classic Elite Make It Modern, by Pam Allen

    Yarn: Hemp for Knitting Cashmere Canapa (60% cotton, 30% cashmere, 10% hemp), #34, 9 x 120yd/50g

    Notes: I really love wearing this top. It’s relaxed and casual, but the stitch pattern adds just the right amount of interest. I didn’t want it to be too slouchy, so I chose a size with no ease. I do have to be careful not to wear something too bulky underneath, but it’s very comfortable!

    For the XS size, watch out for row 41. When the chart starts out with a k2tog, you have to be careful not to end up shifting your pattern over by one. That is because everywhere else in the chart, the 2nd st that you incorporate into a k2tog is directly above a yo from 2 rows below. However, if you start the row with a k2tog, you’ll end up incorporating that stitch above the yo as your 1st st in the k2tog. Just keep an eye on what your knitting looks like, and it’ll be obvious if you’ve shifted over. This may happen with other sizes too, but at a different place in the chart.

    I added 2 rows of garter stitch at the bottom edges of the body and sleeves because I didn’t want a rolled edge.

    I also slightly modified the hood construction. Rather than binding off the center stitches when it was time to shape the hood, I placed a stitch marker at the center point and did paired decreases on either side of the stitch marker (a total of 7 times). Then, I worked 1 WS row even. On the next RS row, I knit to 4 sts before the marker, k2tog, k2tog, ssk, ssk, and then knit to the end. Finally, I used a 3 needle bind off to join the 2 halves of the hood. No sewing! Yay!


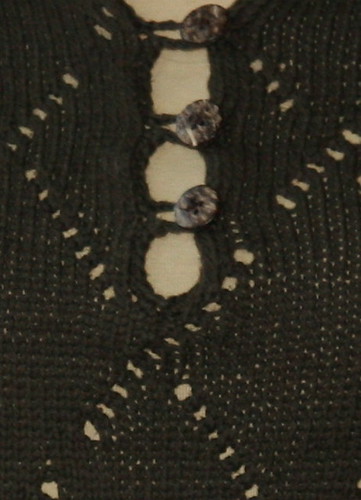
    Rather than finishing off the edges of the hood and front opening as directed, I just did a single crochet edging, starting the lower right border of the hood. Then, in the last stretch, I did the right edge of the opening, incorporating chains for the button loops as I went along. By doing that part last, it made it easier to rip back as necessary if I had to rework the loops.


    As for the yarn, it sheds a lot! Some dye released when it was left to soak for blocking. It did block nicely, though–it got softer and it did not grow. The drape of the fabric is very nice.

    Sunday, October 12, 2008

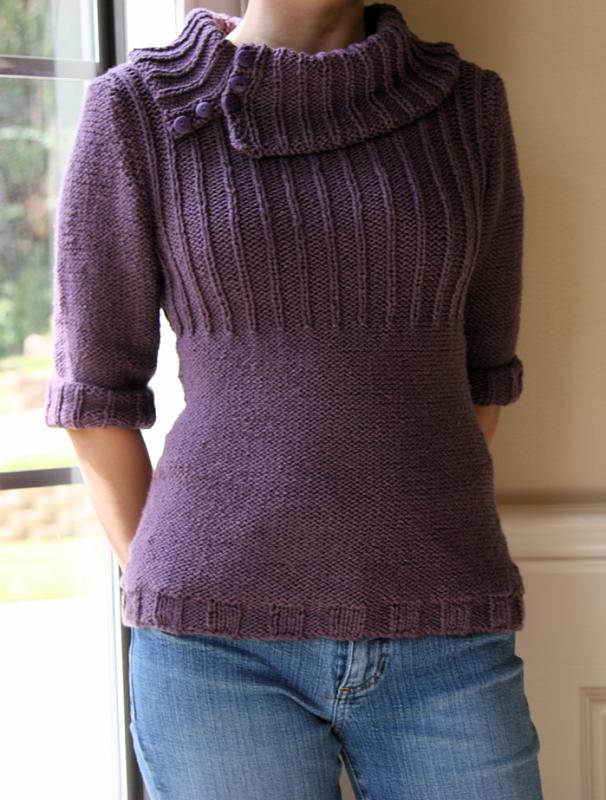
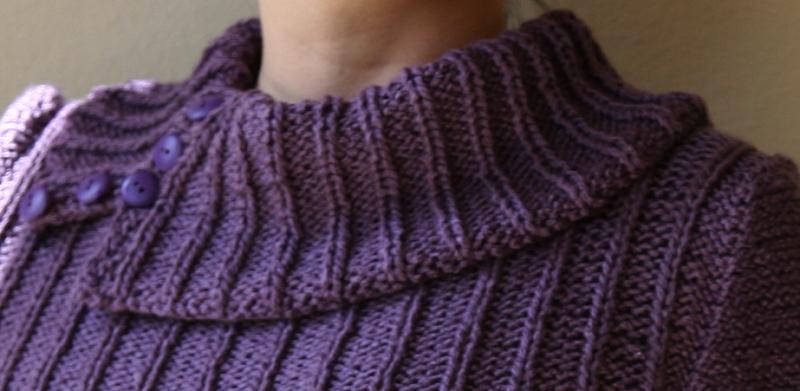
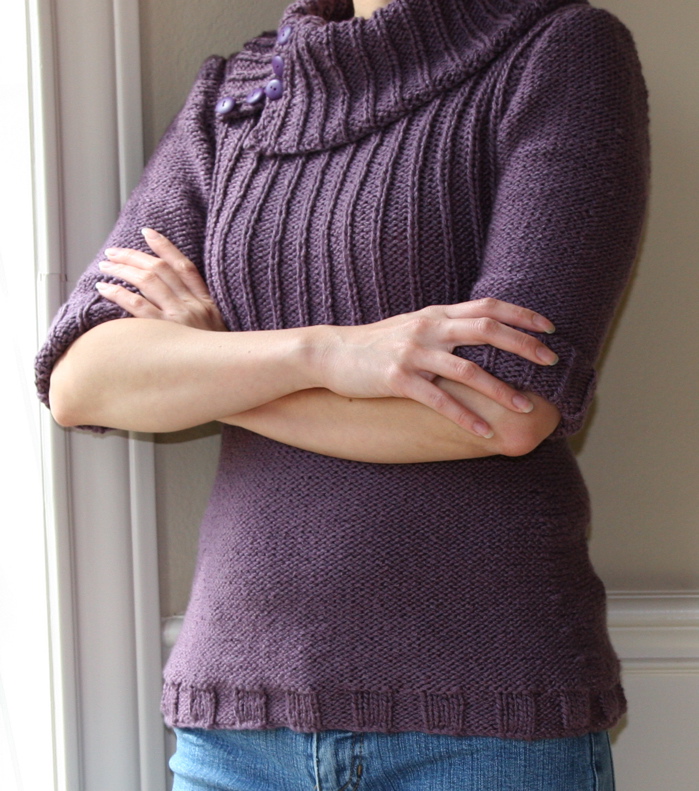
    Button Cowl Neck Pullover


    Completed: October 2008

    Pattern: #20 Button Cowl Neck Pullover, Knit Simple Winter '07/'08, by Cecily Glowik

    Yarn: Louisa Harding Kashmir Aran (55% merino, 10% cashmere, 35% microfiber), #22, 11x 83yd/50g

    Notes:
    This is a very easy and fairly quick knit. If it wasn’t for the break I took from knitting, I could have easily finished it in less than 2 weeks. There were a few modifications…

    I made the bottom ribbing longer–-8 rows instead of 4–-as it did not seem to have enough visual weight as written.

    The sweater was knit in the round, from the bottom up, and split at the armholes. The main body is in reverse stockinette, but I basically knit it inside-out; knitting stockinette in the round goes so fast, especially on size 9’s!
    I added waist shaping as the sweater is pretty blocky without it.

    I did not have enough yarn to make full sleeves, so I made half-length sleeves instead. For the sleeve cuffs and collar, I picked up stitches and knit them in the round, rather than knitting them separately and then sewing them on. I omitted the button plackets on the sleeve cuff. The collar was knit as one piece for the first 3” and then was split to allow for a button placket. The last 1” was knit with 1 needle size larger to make sure it would drape properly.


    The yarn is soft and comfortable to knit with, except there was a fair amount of static at times. It does make for a soft and warm garment. The yarn is very forgiving in that I can’t see the inconsistencies in my stitches as well as you can with other yarns, even before blocking.

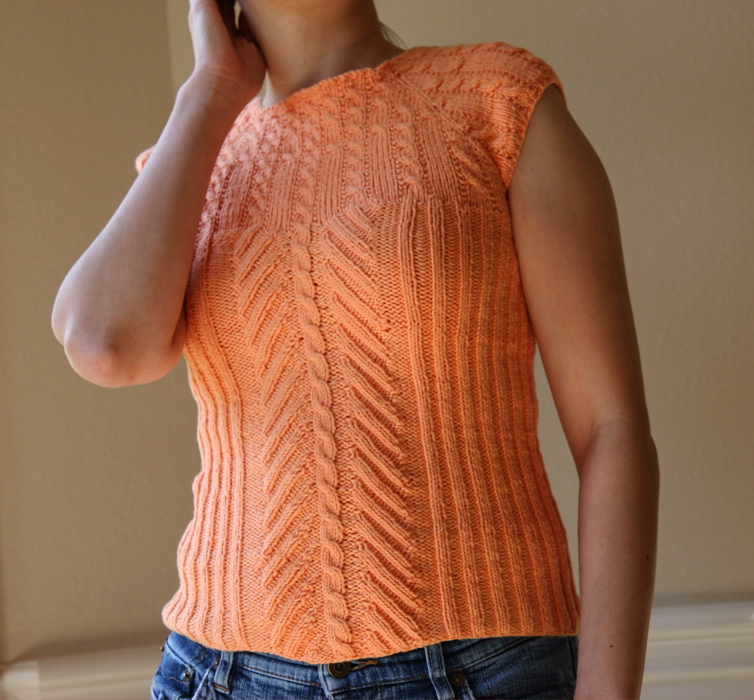
    Fifi


    Completed: September 2008

    Pattern: Fifi, by Kristeen Griffen-Grimes

    Yarn: Rowan Calmer (75% cotton, 25% acrylic microfiber), #486, 4x 175yd/50g

    Notes:
    I originally began this in February, knitting the 29.5” size, and got a quick start. However, I was really unhappy with how the neckline curled, and the crochet edge I tried to add didn’t really work. Also, my gauge was off and the top was too small. For those reasons, the project went into deep hibernation until I decided to start from scratch.

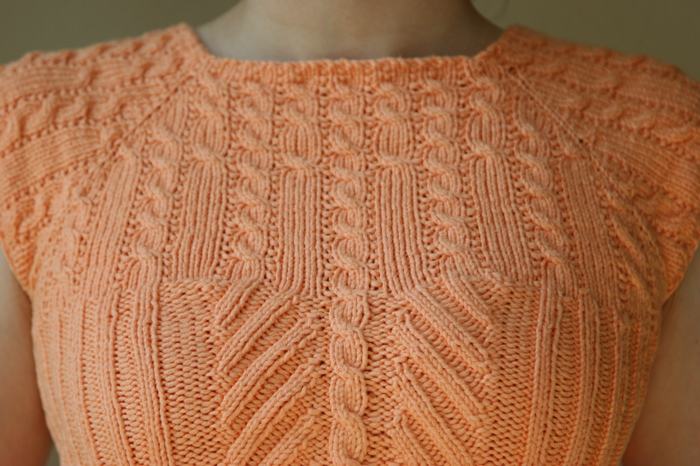
    On the neckline, I substituted P1, k1, p1, k2 across for rounds 1 and 3 to stop the curling. It works great! If you are considering something similar, you might instead want to do P1, k2, p1, k1 across–I think it would flow into the cable a bit better.


    When you separate out the sleeves and cast on stitches to join the front and back, the pattern tells you to cast on the correct number of stitches to maintain k4p1 rib. I think, though, that you’re better off jumping ahead to calculate the number of stitches you’ll need to maintain the k2p2 ribbing needed in the next step. You can work all the newly cast-on stitches in stockinette. It’s just for a few rounds anyway and you won’t have to fiddle again with doing more adjustments to get the correct number of stitches when you make the transition to k2p2 rib. No one will look up your armpit (I don’t think) to notice that you haven’t maintained k4p1 rib, but even if they did, I personally think it looks better to have that section done in stockinette rather than having a few odd purls in there.

    Try as I might, I could not get the center cable to be...well...centered. The stitches worked before the cable ended up tighter than the ones worked after the cable, even though I tried to consciously loosen/tighten the stitches as I knit.

    I used a smaller needle size for the waist area for a bit of shaping.

    I added a good bit of length and was still able to use just 4 balls. The pattern calls for ending on round 8 of the cable pattern, but I think it looks nicer to end on round 4. I did k2tog or ssk for the knit rib portions of the center panel when binding off to prevent too much flaring of this section.

    I love the fact that instructions for cabling without a needle are incorporated right into the pattern. It’s a great way to learn the technique if you’ve never used it before.

    Wednesday, September 10, 2008

    Jasmine


    Completed: August 2008

    Pattern: Jasmine, Nectar by Kim Hargreaves

    Yarn: Online Linie Java (67% mercerized cotton, 33% viscose rayon), #???, 5x 176yd/50g

    Notes: The pattern itself is clear and the style is classic. It definitely has Kim Hargreaves stamped all over it! However, the pattern schematics are not very detailed. Sure, you can go and calculate out more detailed measurements, but that would defeat the purpose of a schematic, no? Also, the instructions don’t tell you what size buttons to buy (I used 1/2”).


    Here are the mods I made:
  • Knit in the round up to the armhole. It would have been possible at this point to continue seamlessly by first knitting the bottom border of each sleeve and then joining all the pieces to continue knitting in the round. However, the rate of raglan decreases is different for the sleeves than for the bodice. This means that I would have had to make a little table or something to keep track of when to decrease where. I was lazy and decided not to fool with it.
  • Did not like eyelet border on placket, so used column of reverse stockinette instead on the right placket; omitted it altogether on the left.
  • For left placket, picked up stitches behind right placket rather than casting on and needing to sew it up later.
  • Used short rows for sleeve cap shaping. Ended all pieces on RS and held live stitches on holder. When the pieces were done, sewed up raglan seams and then knit neck edging, starting from WS-–no need to pick up stitches except for a few stitches along the neck shaping.

    The yarn is very splitty, but it makes up for it with great sheen and drape. It is a bit stiff to work with, but it blocks beautifully. The stitches evened out without any coaxing, and it softened a lot. It also did not grow out the way you might expect a cotton yarn to do.

  • Wednesday, August 27, 2008

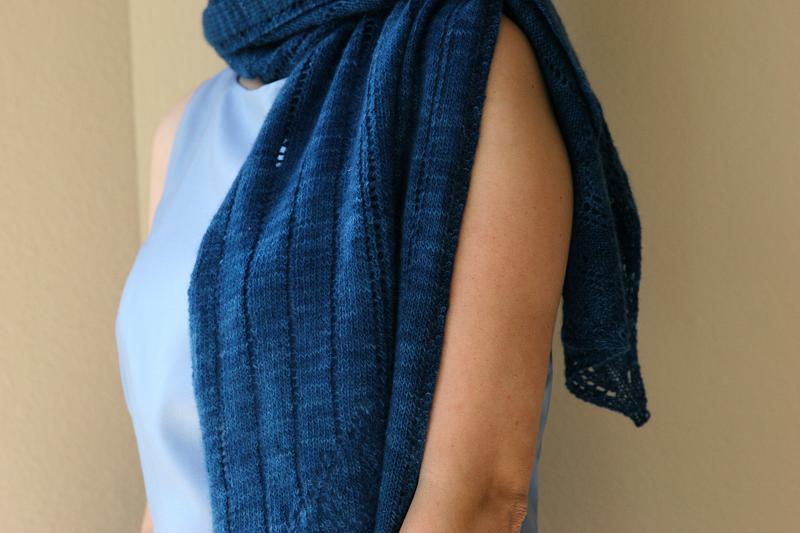
    Juno Regina


    Completed: August 2008

    Pattern: Juno Regina, Knitty Fall 2007

    Yarn: Malabrigo Lace (100% merino), #Azul profundo, 1.5x 470yd/50g

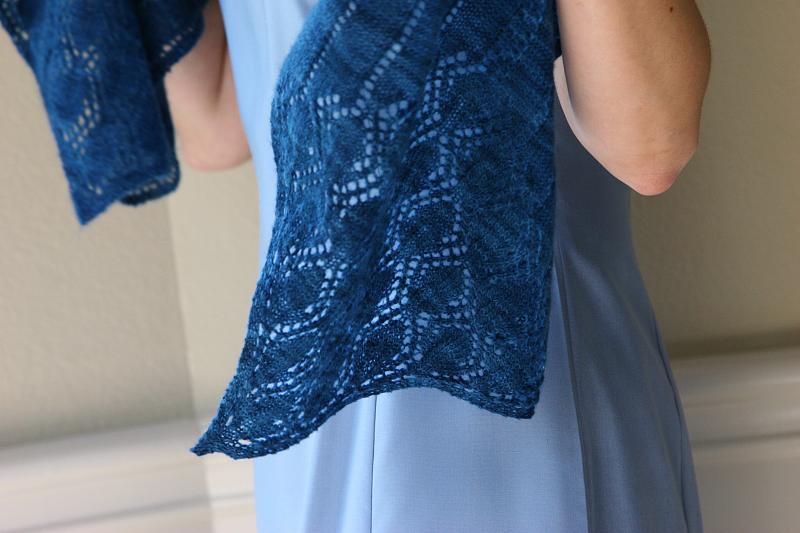
    Notes: This is a beautiful pattern. I made no modifications at all! Although I'm usually a stickler for such things, the asymmetry between the two ends doesn't bother me at all. And the yarn? It's scrumptiously soft and the color is rich. 'Nough said!


    Thursday, August 14, 2008

    Bell Curve


    Completed: August 2008

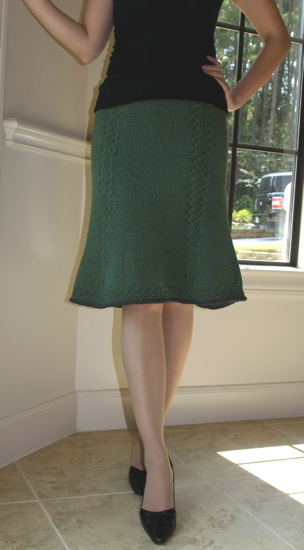
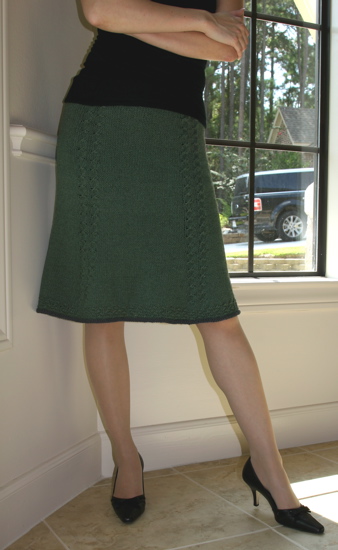
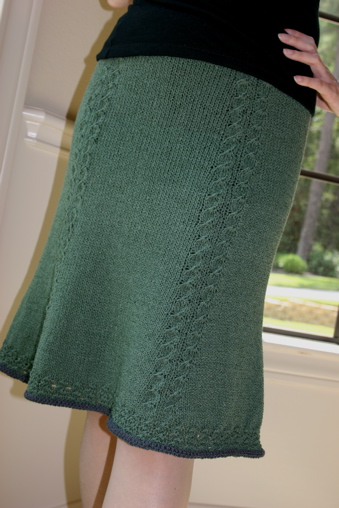
    Pattern: Bell Curve, by Kira Dulaney, Knitty

    Yarn: Berroco Sensuwool (80% wool, 20% nylon), #6538, 9 x 90yd/50g; #6531, 1 x 90yd/50g

    Notes:
    Those stars are pretty and very clever, but they are hard on the hands! Here are some things that might help make them a bit easier:
  • Use pointy, smooth needles if you have them
  • If you have interchangeable needles, switch out the left needle tip for something smaller. This gives you more room around the stitches to maneuver. Theoretically, you'll be okay gauge-wise since it's the right hand needle that determines the size of new stitches, but if you're nervous about it, you might go ahead and swatch the whole thing with a smaller needle tip on the left. Another option would be to slip the needed stitches onto smaller dpn's if you're not using interchangeables
  • use a crochet hook to form the new loops for the star.

    My row gauge was way off, but it worked out fine since I was going to modify the rate of increases to create a slimmer shape anyway. The skirt is about 1-1/2" shorter than the pattern. At the bottom, I used a contrasting color--knit 1 round, purl 1 round, bind off in purl.

  • Sunday, July 27, 2008

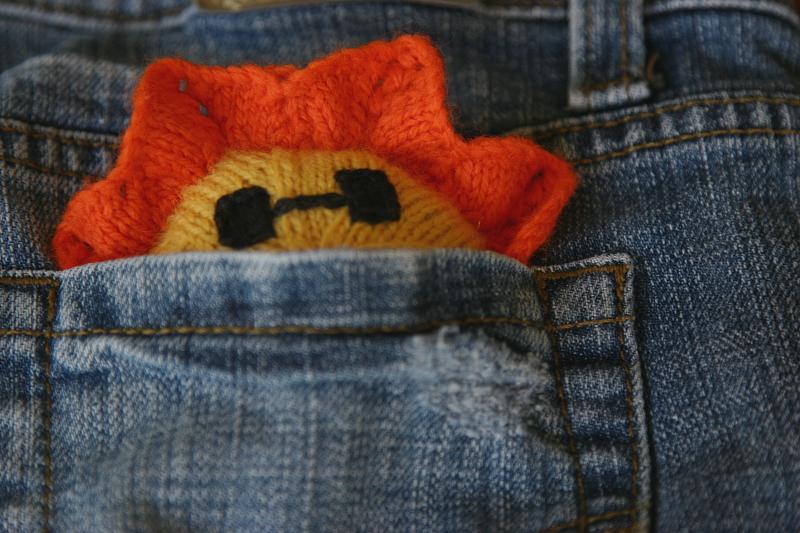
    Sunshine in My Pocket


    Completed: July 2008

    Pattern: my own


    Notes:
    Gray skies? Blue mood? Don't worry. You can carry your own bit of sunshine around with you in your pocket! The backstory for this pattern is on the main blog.


    This toy is knit in one piece in the round. The sunrays are adapted from the Eyelet Point Ruffle in Knitting on the Edge. Fingering weight yarn is used to make it small enough to be able to actually fit inside a pocket, but you can make this pattern using other yarn weights. Just be sure that your stitches are tight enough to hold the stuffing in.

    FINISHED MEASUREMENTS
    4.5“ in diameter

    YARN
    Knit Picks Palette [100% wool, 231 yd (211 m) per 50 g (1.74 oz)]; 1 skein of each color (less than 20% of skein used)
    [MC] 6240 Semolina
    [CC] 6879 Orange


    NEEDLES
    1 US #1/2.25 mm circular needle, at least inches 32”, if doing magic loop,
    OR 1 set US #1/2.25 mm dpn’s
    Optional: Crochet hook size B

    NOTIONS
    Stitch markers
    Waste yarn
    Tapestry needle
    Black embroidery floss
    Polyester fiberfill stuffing

    GAUGE
    32 sts = 4 inches in stockinette

    Exact gauge is not important, but the fabric created should be dense enough to not allow the stuffing to come out

    STITCH GUIDE
    Sunray
    Round 1: *K1, yo, k4, ssk, yo, sl 1, k2tog, psso, yo, k2tog, k4, yo; repeat from * to end.
    Round 2: Knit all sts.
    Repeat these 2 rounds for Sunray pattern.


    Make Bobble (MB)
    In next stitch, k1,yo,k1,yo,k1,yo,k1. Turn work.
    Purl 7 sts. Turn work
    Ssk, k3, k2tog. Turn work.
    Purl 5 sts. Turn work
    Ssk, k1, k2tog. Turn work.
    Purl 3 sts. Turn work.
    Sl 1, k2tog, psso.

    DIRECTIONS
    Sunrays
    Using CC, CO 128 sts. For magic loop, distribute stitches evenly across the 2 sides of the circular needle; for dpns, distribute stitches evenly across 4 dpn’s. Place marker that is different from the others and join to begin working in the round, being careful not to twist.

    Work sunray pattern for a total of 7 rounds.

    Sun Body
    Change to MC. Knit 1 round.

    Next round, *k1, sl1 purlwise to waste yarn; repeat from * to end. 64 sts on needles, 64 sts on waste yarn.

    Front
    *K8, place marker; repeat from * to last 8 sts, k8.

    Round 1: K to 2 sts before marker, k2tog; repeat from * to end
    Round 2:K all sts
    Repeat these 2 rounds 5 additional times. 16 sts remain.
    **

    *K to 2 sts before marker, k2tog; repeat from * to end. 8 sts remain.
    K5, MB, k2.

    Break yarn and draw through remaining stitches. Pull yarn tightly to close opening. Use yarn to tack down bobble “nose” to cover center hole. Bring yarn to wrong side and tie a small knot very close to center hole and trim, leaving 1” tail. Weave in remaining yarn ends or tie small knots very close to the fabric and trim ends. Block work (it will be easier to embroider if the piece has been blocked).

    Embroider features on face, positioning the beginning of the round as the bottom center of the sun “face”.

    Back
    Transfer 64 sts from waste yarn back to needle.

    Knit as for front, to **.

    Insert stuffing to desired fullness.

    *K to 2 sts before marker, k2tog; repeat from * to end. 8 sts remain.
    K all sts.

    Break yarn and draw through remaining stitches. Pull yarn tightly to close hole. Tie a small knot very close to center hole. Hide yarn end inside body.

    Optional: Bring yarn end through body and out the top. Crochet a chain loop and hide yarn end inside body.


    Thursday, July 24, 2008

    Eastlake


    Completed: July 2008

    Pattern: Eastlake, Norah Gaughan Volume 3

    Yarn: Cascade Venezia Worsted (70% merino, 30% silk), #130, 4x 218yd/100g

    Notes:
    You'll probably use quite a bit less yardage than the pattern calls for, at least for the 32" size.
  • Cast on 2 sts less so that ribbing starts and ends with k2 for easier seaming
  • Started with front. This was basically because I was so anxious to knit that leaf panel, but it worked out for the best. If you do the full pattern and have row gauge, you will end up with a longer length than the back. But if you start with the front, it’s easy enough to make the back match that length. Doing the front first means that you have to guesstimate a bit about the length of the neck extensions. Go ahead and knit them to the measurements in the schematic, but leave an extra-long tail after you bind off so that you can go back and add to the length a bit if it doesn’t work out.
  • Only knit to row 100 of leaf panel as it was already getting long for my body
  • Made the yo eyelets along the leaf “stalk” less obvious so I can wear it without a layer underneath. On the WS, ktbl for all yo’s. On the WS, ptbl for the stitch that will eventually be used to M7, M5, or M3
  • Omitted eyelet row across chest


    A few errors have already been added to the errata page. Here are the ones I think remain as of 7/24/08:
  • Back calls for 3 rows of a reverse stockinette ridge just under the armhole, but front only calls for 2 rows. Since I made the front first, I had to make the back match it, but I believe the directions for the back are the correct ones.
  • Eyelet row for front should start out with knit stitches, not purls

    I’m wearing this with 0” ease in the chest and about 1-1/2” in the hips.

  • Monday, June 30, 2008

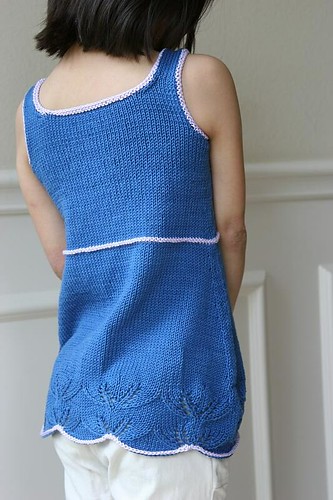
    Black Dog Tank


    Completed: June 2008

    Pattern:Beaded Cami, Black Dog Designs, by Nora

    Yarn: Rowan Glace (100% cotton), #817, 4x 125yd/50g; Rowan Glace (100% cotton), #811, remnants

    Notes:
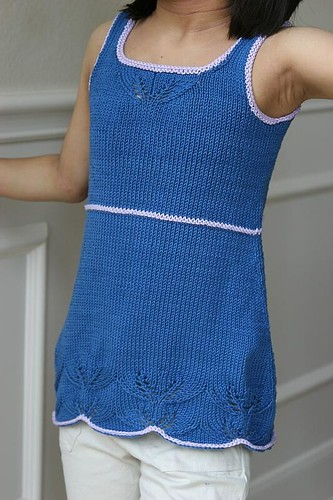
    I modified Nora's beautiful design into a tank for my daughter and knit it bottom-up in the round. The bottom section maintains the A-line shape, whereas the top is more fitted. The lace motif is repeated just once and centered for the top section. My daughter wanted to add lavender accents, and amazingly, I happened to have some leftover lavender Glace in my stash, so it worked out perfectly. The purl ridge row was added by first knitting 1 row in lavender and then purling the 2nd row before switching back to blue. The bottom edging was done after the main knitting was completed, and it came about because I messed up. I was so eager to get started that I went right to the directions for the lace and forgot to do the 2 rows of garter stitch that the pattern called for! So I went back and picked up stitches along the bottom edge using the lavender yarn, and then bound off in purl. The armhole and neck edge got a more substantial treatment--picked up stitches, purled 1 row, and then bound off in knit. I kept the bottom edging simpler because I didn't want it to overwhelm the scallops.

    Saturday, June 28, 2008

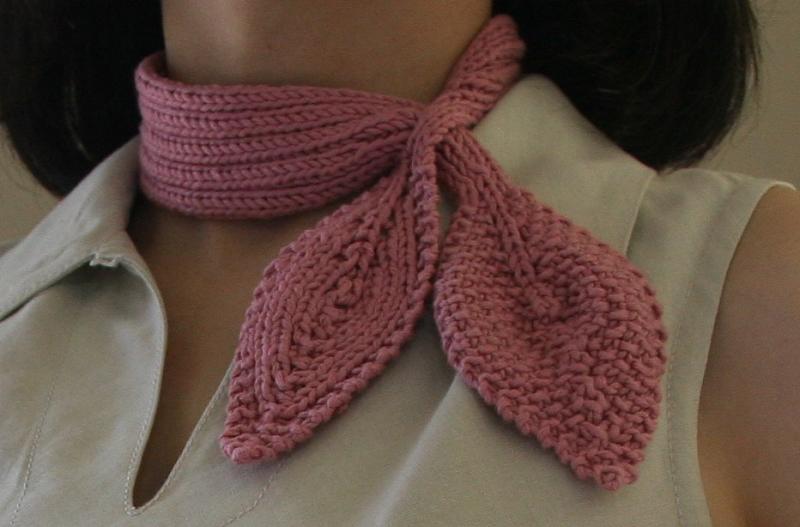
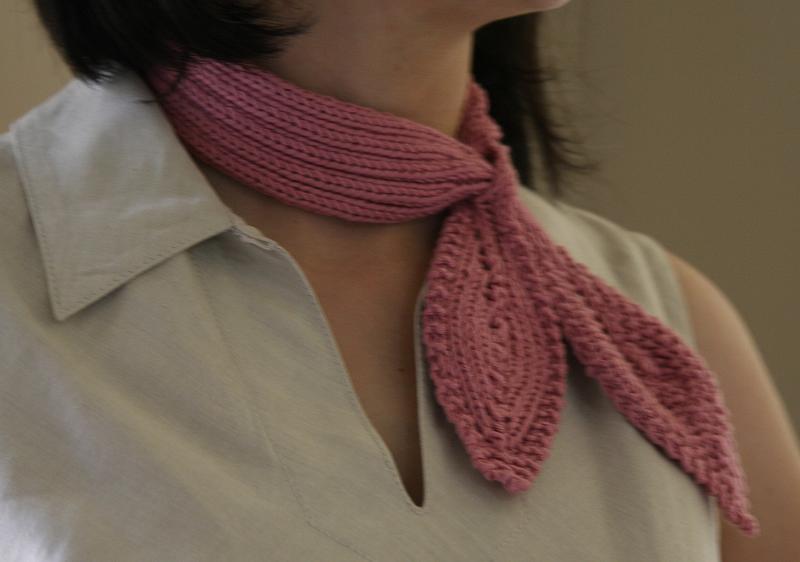
    Little Leaf Scarf


    Completed: June 2008

    Pattern:Little Leaf Scarf, Classic Elite Make It Modern booklet, by Pam Allen

    Yarn: Debbie Bliss Wool Cotton??

    Notes:
    This is a cute project, but as many others have pointed out, you really need to pay attention to the size. The pattern calls for the main section to be 13-1/4”–and that’s not including the tapering that comes before you make the leaves themselves. This would have been far too big for my 12” neck. The fit you see here is from making the main section only 11”, but if I had to do it again, I’d probably make the main section 2” less than my neck measurement to get a fit closer to what is modeled in the pattern booklet. If you make it, remember to keep trying it on as you go!

    I also made the slit smaller than indicated in the pattern–this makes it a bit more fiddly to put on, but once on, I think it looks better and stays better.

    I consider myself a fairly decent pattern reader, but the way the leaf construction was described made me scratch my head for a bit before I figured it out. Also, it wasn’t clear to me why the pattern calls for the middle ribbing section to grow asymmetrically from the cast-on edge. I think it makes more sense to have the same length from the cast-on edge in both directions so that the transition is hidden, whether you choose to wear the leaves on your right side or your left.
    Some people are bothered by the puckering on the seed stitch leaf, but I actually like it. If you push in the center and the side edges, making kind of a calla lily shape, it looks cute and stays put.

    Thursday, June 12, 2008

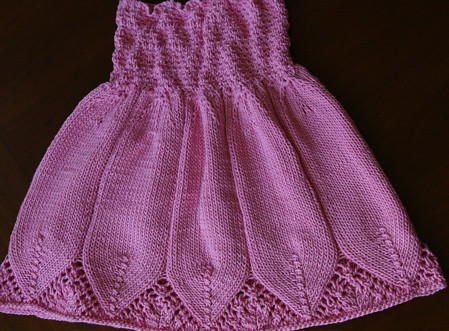
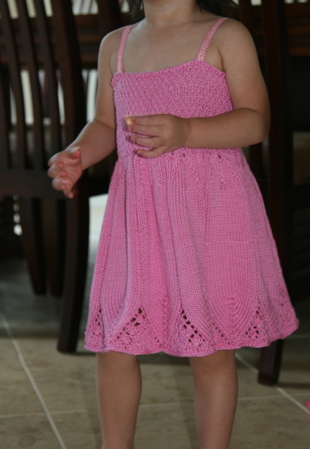
    Flora Dress


    Completed: June 2008

    Pattern: my own


    Notes: This dress is knit from the top down and uses a bit of shirring in the bodice to ensure a good fit. The bodice is done in dot stitch, which reminds me of a flower center. The top of each "petal" in the skirt has slip-stitch and eyelet detailing. The petal tips and lace inserts are adapted from the Hemlock Ring Blanket.

    Additional sizes added on 6/13/08. Edited 6/24/08 to correct error in Chart A.

    SIZES
    3-6 mo, to fit 15-17" chest
    9-12 mo, to fit 17-19" chest
    2 yrs, to fit 19-21" chest
    4 yrs, to fit 21-23" chest
    6 yrs, to fit 23-25" chest

    FINISHED MEASUREMENTS
    Chest: 16[18,20,22,24] inches before shirring
    Length: 13[14,16,18,20] inches

    YARN
    Tahki Cotton Classic [100% mercerized cotton; 108yd/100m per 50g skein]; color: 3449; 3[4,4,5,6] skeins

    NEEDLES
    1 US #6/4 mm circular needle, 16 inches
    1 US #6/4 mm circular needle, 32 inches
    Or size to obtain gauge

    NOTIONS
    Stitch marker
    Tapestry needle
    Sewing needle with large eye
    Elastic thread
    Fray Check
    Ribbon
    Thread

    GAUGE
    22 sts/26 rows = 4 inches in dot pattern
    20 sts/26 rows = 4 inches in stockinette

    It is more essential to get stitch gauge in dot pattern

    STITCH GUIDE
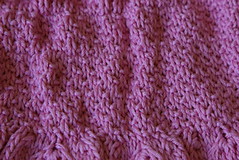
    Dot Pattern
    Round 1: *P1, k1; repeat from * to end.
    Round 2: Knit.
    Round 3: *K1, p1; repeat from * to end.
    Round 4: Knit.
    Repeat rounds 1-4 for pattern.

    DIRECTIONS
    Bodice
    Using shorter circular needles and cable cast on, CO 88[100,110,122,132] sts. Place marker and join to begin working in the round, being careful not to twist.

    Work dot pattern for 4[4.5,5,5.5,6.25] inches, ending with round 1 or round 3.

    Sizes 3-6 mo, 2 yrs, 6 yrs:
    *P1, k9 tbl, p1, repeat from * to end.

    Sizes 9-12 mo, 4 yrs:
    P1, k9, p2tog, *p1, k9 tbl, p1, repeat from * to end.

    Skirt
    Work Chart A 8[9,10,11,12] times across sts (click for larger image). Switch to longer circular needles after completing row 1.

    Repeat row 11 of Chart A till work measures 10[11,13,15,17] inches from cast on edge, or until desired length before transitioning to lace section (lace section will be 3 inches in length).

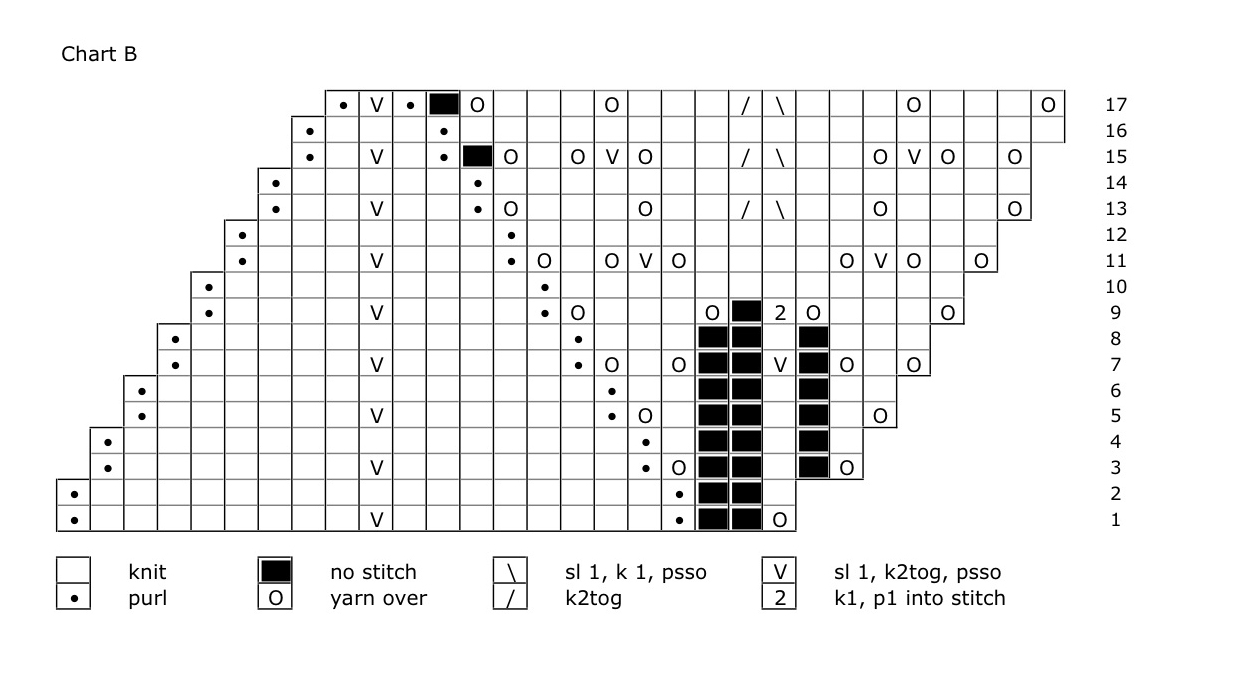
    Work Chart B 8[9,10,11,12] times across sts (click for larger image).


    Next round, knit across all sts.

    Bind off in purl.

    Finishing

    Weave in ends. Block.

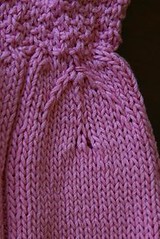
    Cut 5 16[18, 20, 22, 24] inch strands of elastic thread . Turn garment inside-out. Starting with the 2nd row of purl bumps from the top, weave elastic under purl bumps as shown.
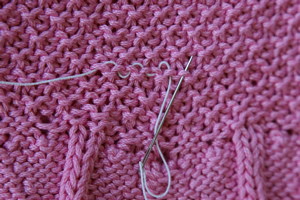
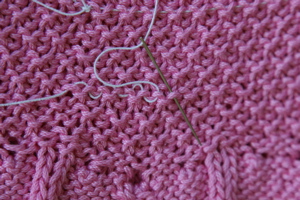
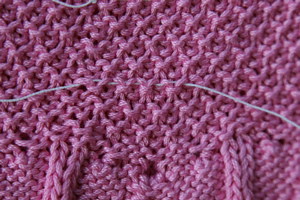
    Tie square knot in elastic, leaving 1-1/2” tail on both ends. Repeat using remaining strands of elastic thread, distributing the rows of elastic evenly over the length of the bodice. Try garment on. Adjust elastic thread if necessary to ensure comfortable fit. Trim ends. Dab Fray Check onto knot and elastic thread ends; weave in ends.
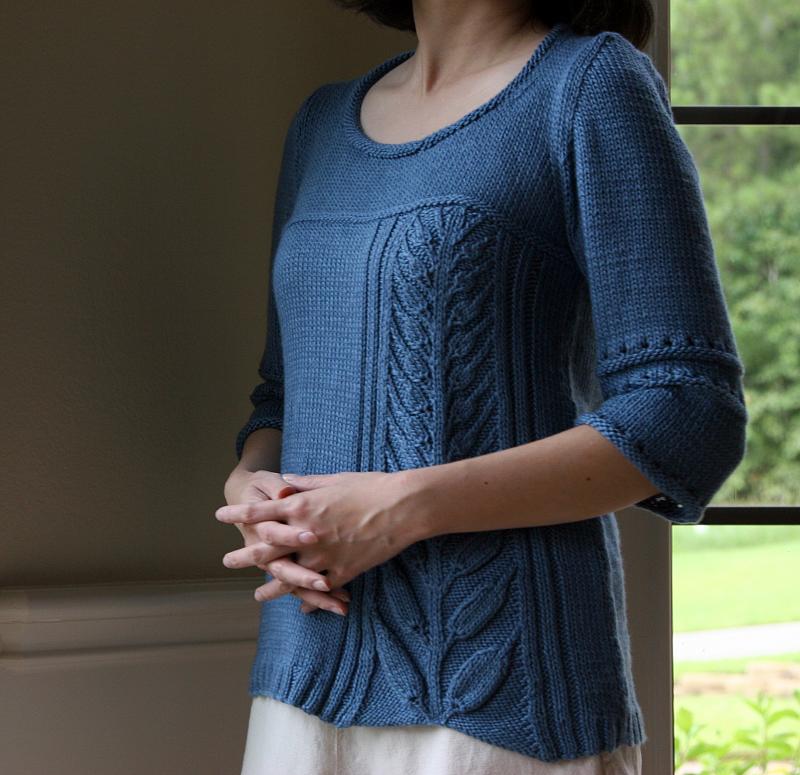
    Sew ribbons into place for straps.