Showing posts with label Tops SS. Show all posts

Monday, March 15, 2010

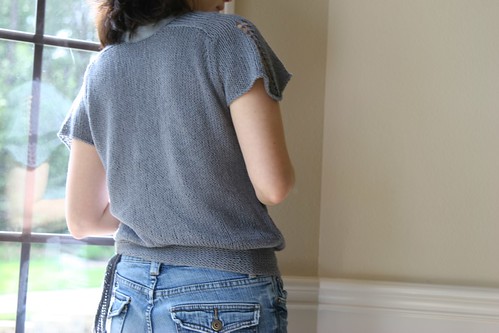
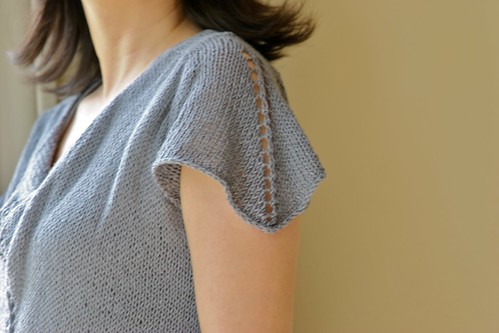
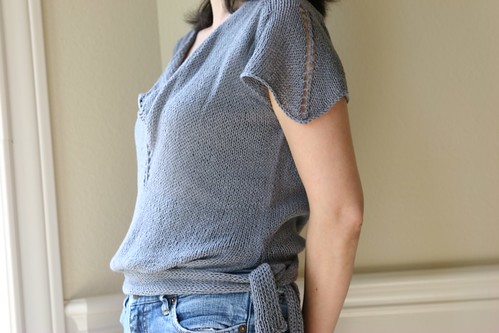
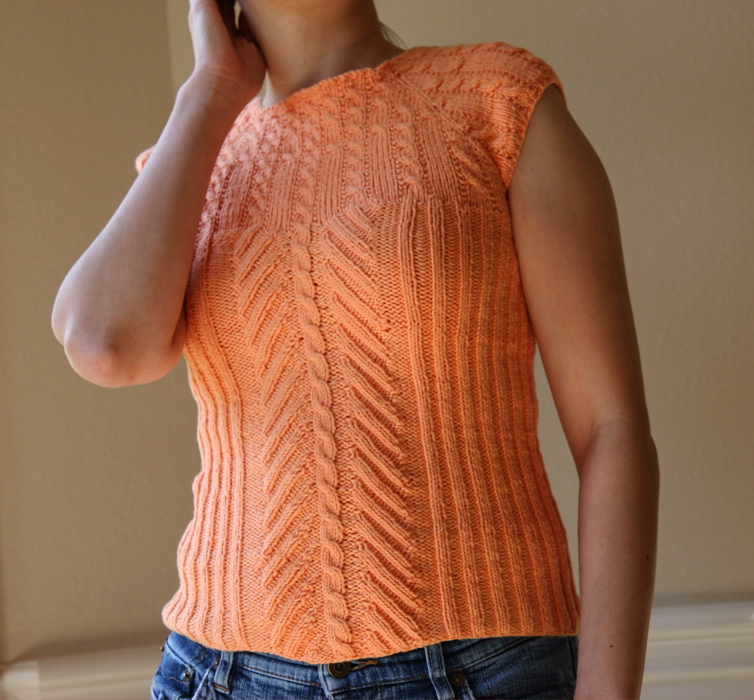
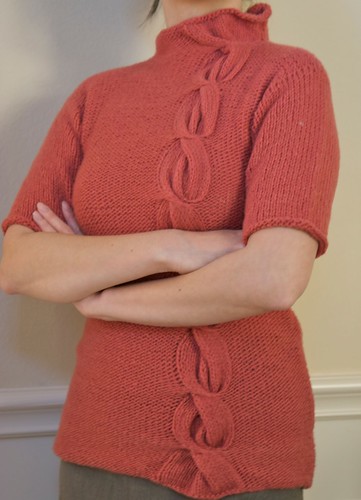
Cocoon


Completed: December 2009

Pattern: Cocoon, by Tanya Alpert, in Haiku Knits

Yarn: GGH Bel Air (90% merino wool, 10% nylon), #09, 4.5 x 142y/50g

Notes: My instinct was to knit this in the round, but I went ahead and constructed it mostly as instructed. The intention was to knit the body in one piece, starting with the bottom edge of the front and ending with the bottom edge of the back. Once I got to the neck section, I did change things up a bit by leaving the neck stitches for the front live on a holder and doing a provisional cast on for the back neck stitches. After finishing the body, I went back to the neck stitches and knit them all at once, in the round. In retrospect, it would have been easier to have knit the whole body in the round. This is particularly true if you have a different gauge (as I did), because then you don’t have to do calculations to ensure that the cables on the front and back end at the same place.

I knit this at a gauge of 16st x 22 rows per
4”x4”, so I had to made adjustments accordingly. Note that the schematic seems to show the wrong width numbers.

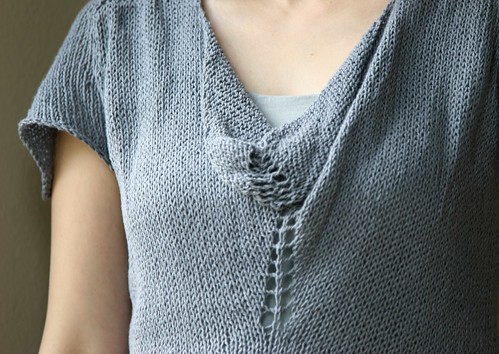
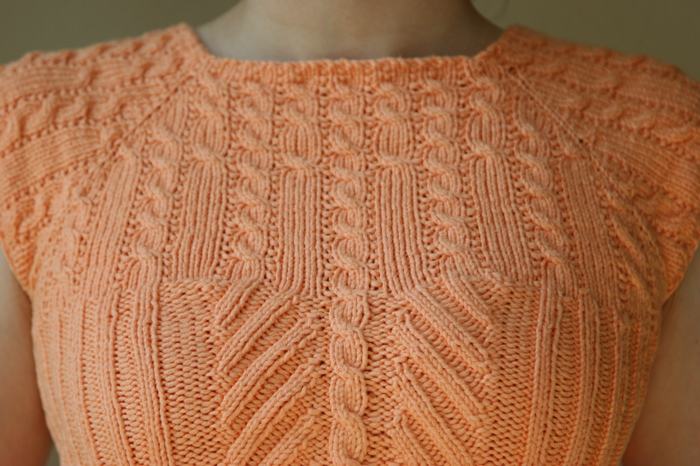
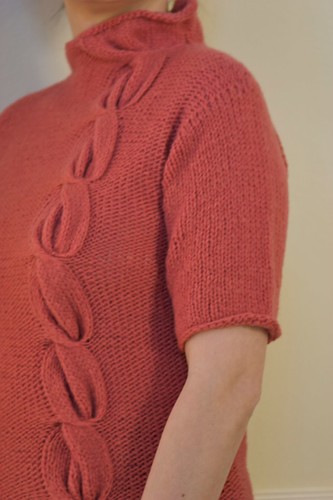
The neck has some wonkiness to it because of the mixture of stockinette and reverse stockinette. Personally, I like it, but if you don’t, you might consider doing it differently.
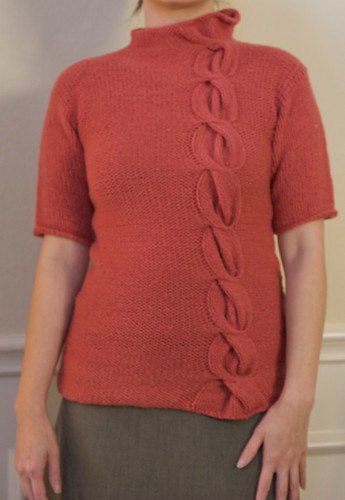

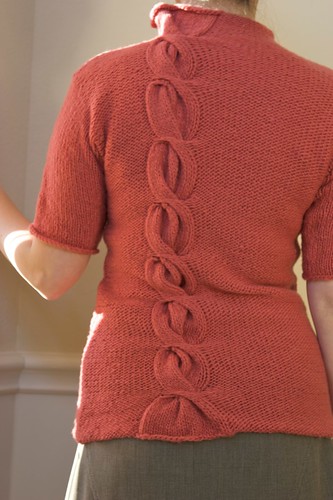
What sold me on this design was, of course, the cable. It is really lovely and fun to do! I especialy love how it results in extra little folds in the cable. Totally makes it worth it.

Tuesday, September 22, 2009

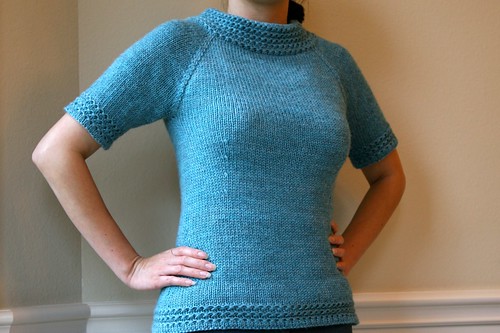
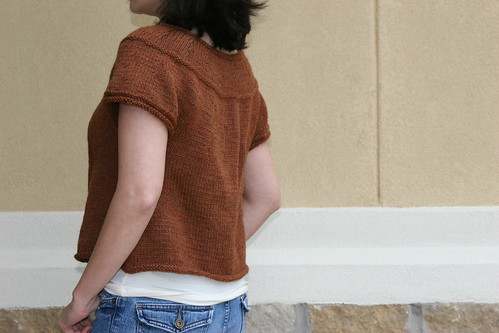
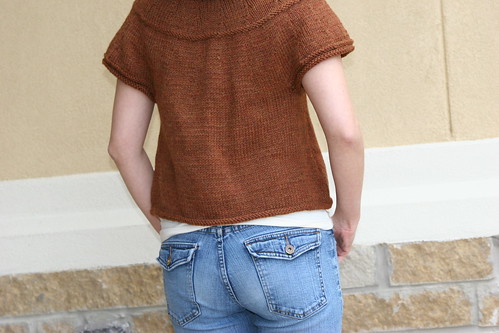
Ingenue


Completed: July 2009

Pattern: Ingenue, Custom Knits, by Wendy Bernard

Yarn: Cascade 220 Superwash (100% wool), #1910, 4 x 220y/100g

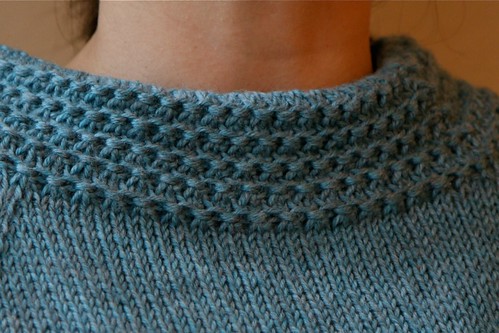
Notes: I was adventurous and started this without doing a swatch first. I figured it wouldn’t be too big of a deal since it’s a top-down raglan and adjustments are relatively simple to make. I made the collar on size 7’s and realized the gauge was too small, but I like the way the collar turned out anyway, so I left it alone. I switched to size 8’s once I got to the yoke to get closer to gauge but it was still smaller, at 20st/24r.


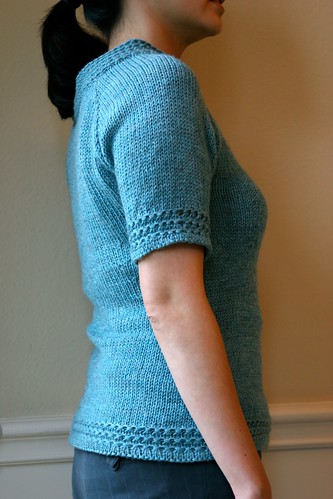
I knit the collar in as I went along, rather than waiting to sew it in at the end. For the raglan increases on the yoke, I spaced them further apart towards the end. After the 12th increase, I set them every 3rd row instead of every other. In part, this was to help make up my row gauge difference, but it also changed the slope of the increase and helps to prevent some of that fabric excess that often happens near the armpit on raglans. I picked this up from knitting Hargreave’s Jasmine, and I think it makes for nice shaping. As you can see in the picture with my arms down, there is still some bunching, but not too terrible. I like the way the waist shaping is done in the front and back just under the bust and at the sides along the hip. I think I will use this method in future sweaters.


I had some trouble with the bottom hem flipping up. It didn’t curl-–it just kept flipping up after I sat down or if I bent at the waist. So to try and fix this, I did the hem a bit differently. It was fiddly to get the tension just right, but I’m okay with how it turned out. After knitting row 4 of the pattern (I only did 3 repeats)…
-Knit 1 row
-Purl 1 row (turning ridge)
-Knit 2 rows using 1 needle size down
-Turn hem in along turning ridge and sew live stitches to wrong side of fabric


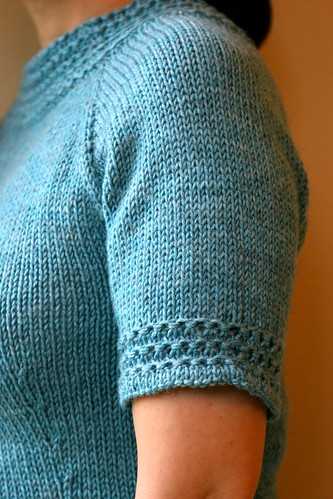
I didn’t have any problems with the sleeve hems flipping up, but nevertheless, I did those hems in a similar way, just for consistency. The only difference was that on the sleeves, I went down 1 needle size starting on row 4 of the last pattern repeat and also decreased by 2 stitches on that row. After purling 1 row for the turning ridge, I kept the same needle size but decreased another 2 stitches on the next knit row.


The yarn is really nice and easy to work with. It doesn’t feel plasticky like some other superwash yarns. It’s pretty soft and comfortable to wear. I think most people could easily wear it next to their skin, but I’m extra sensitive, so I did feel more comfortable with a tank on underneath.

Sunday, August 16, 2009

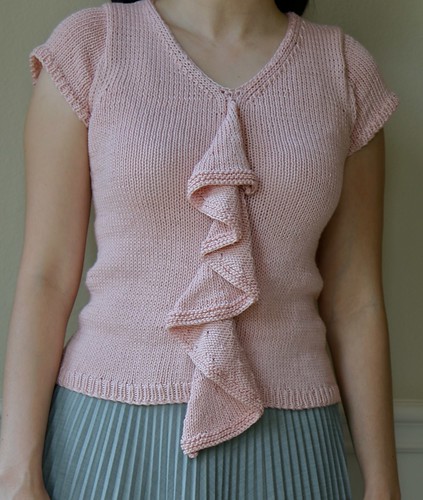
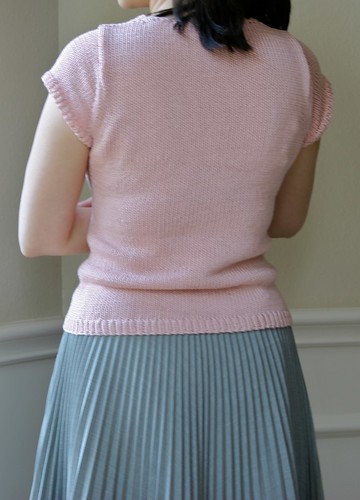
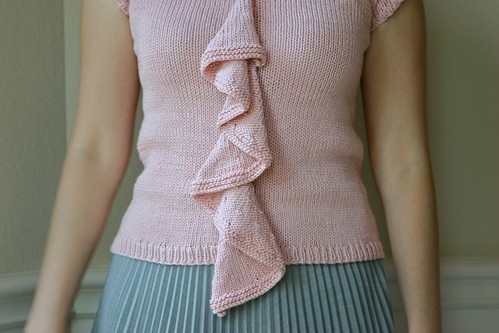
Flutter


Completed: August 2009

Pattern: Flutter, Norah Gaughan Vol 4

Yarn: Nashua Handknits June (100% microfiber), #003, 5 x 120y/50g

Notes: This is a cute, straightforward pattern. The only minor point of confusion for me was doing the slipped stitch on the front, which occurs between 2 purl stitches. It wasn’t entirely clear to me at first whether to slip the stitch with the yarn in front or yarn in back. The answer is: yarn in back (thank you gwenuvere).

The narrowest part of the waist shaping hits higher than in most other patterns, and I wasn’t sure how that would work out, but I think it looks fine.


Rather than finishing off the neck edge by picking up stitches and then immediately binding off (which would have actually been a lot faster for me), I forced myself to do a crochet edge to practice a bit more crochet.

I got the Nashua Handknits June on clearance and really like it. Every now and then, I’d detect just the slightest plasticky crunch when working with it, but for the most part, I really didn’t notice that it’s a synthetic. It’s very soft and pretty flowy. I suspect the ruffle would have been a little better drape if I had used the yarn the pattern calls for, but it still works.

Saturday, May 2, 2009

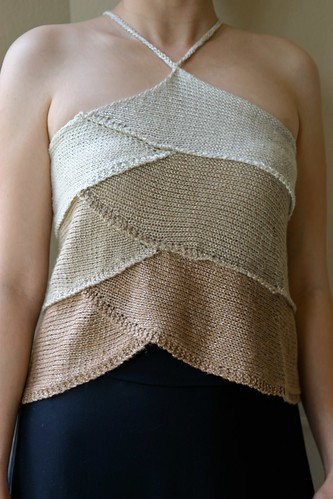
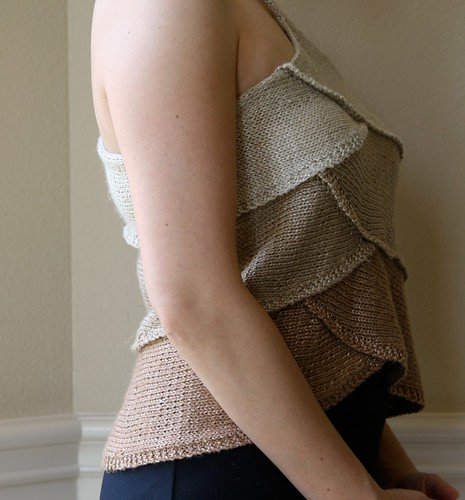
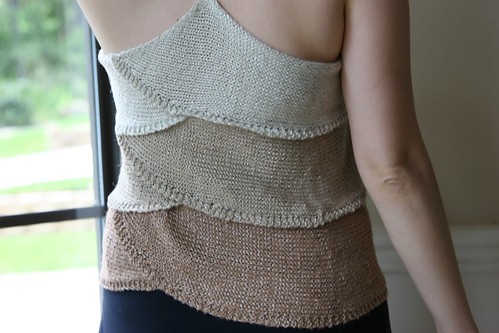
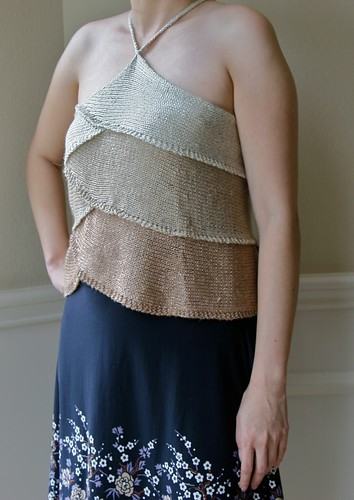
Petal Halter


Completed: May 2009

Pattern: Petal Halter, Interweave Knit Spring 2009, by Olga Buraya-Kefelian

Yarn: Louisa Harding Merletto (46% Viscose rayon, 34% Nylon, 20% Linen), 98yd/50g, 2 x #1, 2 x #2, 2 x #12

Notes: To start, I used a more standard provisional cast on, rather than the Eastern method.
The pattern tells you to knit each petal until the garter ridge edge is a certain length. Well, rather than calculating it out using my row gauge as I should have done, I measured the unblocked, unstretched garter edge. You guessed it-–I ended up with a set of petals that were too long once blocked. Luckily, I had started with the bottom tier of petals and pieced it together as I went along, so I discovered my mistake after the first 2 petals. I then realized I could make the 2 remaining petal tiers progressively smaller, so I did not have to frog anything.

Instead of leaving live stitches on each petal, I passed the stitches over one another–like binding off. For me, this made it a little easier to sew them together and made the seams have less gape. The sewing was not complicated, but keeping everything properly aligned in such slippery fabric and creative geometry required a lot of safety pins for basting.

Rather than making the original straps, I decided to make it a strappy halter. The cord is formed by casting on a whole bunch of stitches, and then casting off. I sewed the cord to the “points” on the front and back. Luckily, my head fit through the opening, but if it had not, I would have left more cording to be able to tie it at the side of the neck.


I like this top, and the construction was fun and interesting. I was nervous about it the whole way because I usually try things on as I go along, and this was hard to do. In the end, though, it worked out well enough. I probably should have cast on more stitches to make each petal wider (and then made adjustments so they’d still be the same length as the original). That would have allowed the top as a whole to be a bit longer. I can’t really wear this with my low-cut jeans without showing a little wedge of belly.


Because I used different colors, I had to buy more total yarn: 2 skeins of each color. I suspect that if I had done the straps as directed, I might have needed a 3rd skein of the top color. The yarn has a pretty nice drape and sheen. However, it’s just a bit scratchy, and it was really splitty to work with.

Wednesday, April 29, 2009

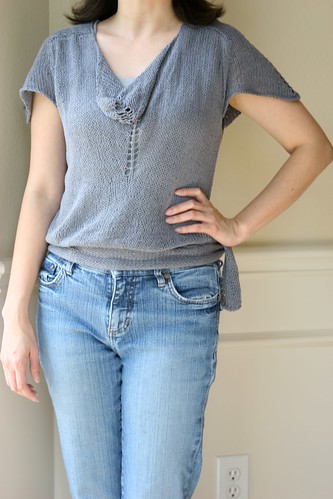
Vintage Cowl


Completed: April 2009

Pattern: With the New Cowl Neck Line, in A Stitch In Time: Vintage knitting and crochet patterns 1920-1949, Vol. 1 by Jane Waller and Susan Crawford

Yarn: Elsebeth Lavold Hempathy (40% Hemp, 40% Cotton, 20% Modal rayon), #26, 4 x 153yd/50g

Notes: I loved this pattern from the moment I saw it and am very happy with the results. There is currently an error listed for the back piece, and I suspect there is an error in the sleeve/armhole directions–am waiting to hear back about that as of 4/28/09.


I would strongly recommend you buy extra yarn. I did use a different yarn than recommended, but the yardage is nearly identical. I made the smallest size, which calls for 4 balls, and I thought I would be safe since the next size up also called for 4 balls. But I had to make my sash 42” instead of the 34” the pattern says in order to make sure that the sash could tie and stay tied properly. I needed a whole ball just for that, and I had basically nothing left over.


I did a few modifications. The saddle shoulder is done in stockinette rather than rib, and I cast on 4 fewer stitches. The sash is done in 1x1 rib; it looks and acts like double knitting, except the ends tend to flare out. To combat this, I modified the construction a bit:
-CO half the required number of stitches
-Row 1: Kfb of each stitch
-Row 2: Establish p1, k1 rib
-Continue in rib pattern till desired length
-Last row: K2tog to end, casting off as you go.

Thanks to TechKnitter’s excellent instructions for doing the beginning and end of the neckline bindoff stitches, I got a beautiful edge with no ugly gaps. That, combined with the fact that the fabric blocked out well and did not have any meaningful stockinette curl, meant that I was able to forego the crochet edging that the pattern suggests.


The yarn was great, blocked beautifully, and had the right mix of drape and body at this loose gauge.

Saturday, December 13, 2008

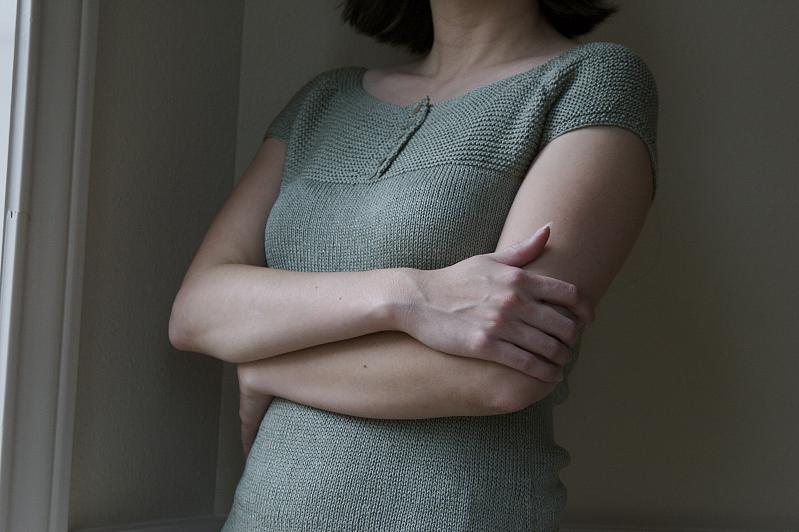
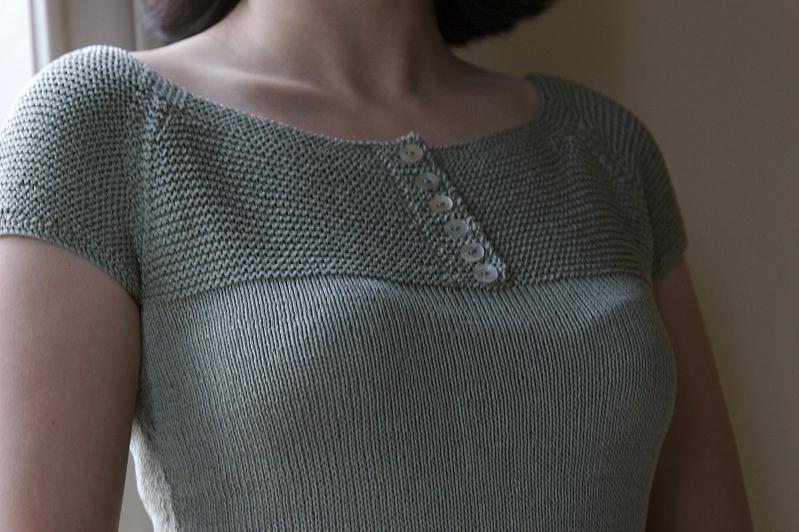
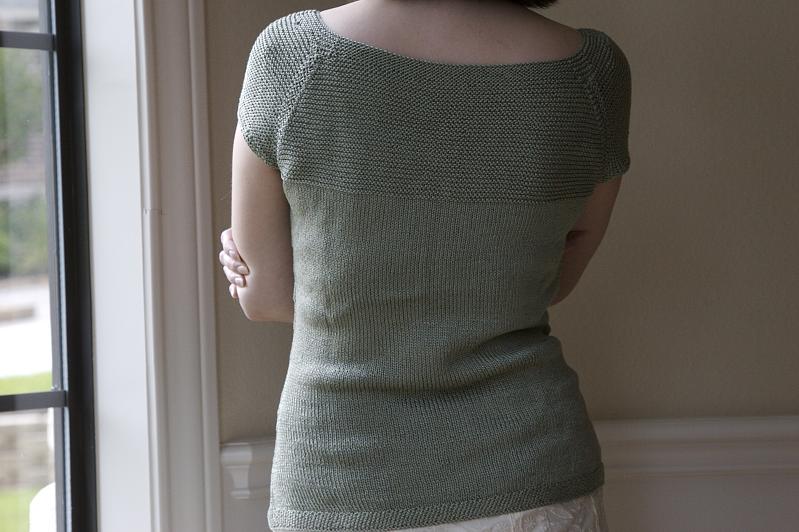
Loppem


Completed: December 2008

Pattern: Loppem, Norah Gaughan Volume 3

Yarn: Cascade 220 Heathers (100% merino), #2453, 3 x 220yd/100g

Notes: I just loved the picture of this in the pattern booklet, and there are lots of cute ones on Ravelry. I do like the design, but I'm not sure that the shape of it really fits me the way that I'd like it to. It is a smidge too big in the shoulder area and it is more flared than I like. But that's okay--I think this one will still see some wear.


If you plan to make this, be sure to look for the errata because there are a lot of corrections. I stayed pretty true to the pattern, except that I changed the placement of the yoke decreases so that they'd line up better. I also moved the buttonhole over a little bit: k2, k2tog, yo, k1. The buttonhole won't be symmetric within the garter ridge panel, but once you put a button in, it'll look centered.

Sunday, October 12, 2008

Fifi


Completed: September 2008

Pattern: Fifi, by Kristeen Griffen-Grimes

Yarn: Rowan Calmer (75% cotton, 25% acrylic microfiber), #486, 4x 175yd/50g

Notes:
I originally began this in February, knitting the 29.5” size, and got a quick start. However, I was really unhappy with how the neckline curled, and the crochet edge I tried to add didn’t really work. Also, my gauge was off and the top was too small. For those reasons, the project went into deep hibernation until I decided to start from scratch.

On the neckline, I substituted P1, k1, p1, k2 across for rounds 1 and 3 to stop the curling. It works great! If you are considering something similar, you might instead want to do P1, k2, p1, k1 across–I think it would flow into the cable a bit better.


When you separate out the sleeves and cast on stitches to join the front and back, the pattern tells you to cast on the correct number of stitches to maintain k4p1 rib. I think, though, that you’re better off jumping ahead to calculate the number of stitches you’ll need to maintain the k2p2 ribbing needed in the next step. You can work all the newly cast-on stitches in stockinette. It’s just for a few rounds anyway and you won’t have to fiddle again with doing more adjustments to get the correct number of stitches when you make the transition to k2p2 rib. No one will look up your armpit (I don’t think) to notice that you haven’t maintained k4p1 rib, but even if they did, I personally think it looks better to have that section done in stockinette rather than having a few odd purls in there.

Try as I might, I could not get the center cable to be...well...centered. The stitches worked before the cable ended up tighter than the ones worked after the cable, even though I tried to consciously loosen/tighten the stitches as I knit.

I used a smaller needle size for the waist area for a bit of shaping.

I added a good bit of length and was still able to use just 4 balls. The pattern calls for ending on round 8 of the cable pattern, but I think it looks nicer to end on round 4. I did k2tog or ssk for the knit rib portions of the center panel when binding off to prevent too much flaring of this section.

I love the fact that instructions for cabling without a needle are incorporated right into the pattern. It’s a great way to learn the technique if you’ve never used it before.

Wednesday, September 10, 2008

Jasmine


Completed: August 2008

Pattern: Jasmine, Nectar by Kim Hargreaves

Yarn: Online Linie Java (67% mercerized cotton, 33% viscose rayon), #???, 5x 176yd/50g

Notes: The pattern itself is clear and the style is classic. It definitely has Kim Hargreaves stamped all over it! However, the pattern schematics are not very detailed. Sure, you can go and calculate out more detailed measurements, but that would defeat the purpose of a schematic, no? Also, the instructions don’t tell you what size buttons to buy (I used 1/2”).


Here are the mods I made:
  • Knit in the round up to the armhole. It would have been possible at this point to continue seamlessly by first knitting the bottom border of each sleeve and then joining all the pieces to continue knitting in the round. However, the rate of raglan decreases is different for the sleeves than for the bodice. This means that I would have had to make a little table or something to keep track of when to decrease where. I was lazy and decided not to fool with it.
  • Did not like eyelet border on placket, so used column of reverse stockinette instead on the right placket; omitted it altogether on the left.
  • For left placket, picked up stitches behind right placket rather than casting on and needing to sew it up later.
  • Used short rows for sleeve cap shaping. Ended all pieces on RS and held live stitches on holder. When the pieces were done, sewed up raglan seams and then knit neck edging, starting from WS-–no need to pick up stitches except for a few stitches along the neck shaping.

    The yarn is very splitty, but it makes up for it with great sheen and drape. It is a bit stiff to work with, but it blocks beautifully. The stitches evened out without any coaxing, and it softened a lot. It also did not grow out the way you might expect a cotton yarn to do.

  • Monday, June 30, 2008

    Black Dog Tank


    Completed: June 2008

    Pattern:Beaded Cami, Black Dog Designs, by Nora

    Yarn: Rowan Glace (100% cotton), #817, 4x 125yd/50g; Rowan Glace (100% cotton), #811, remnants

    Notes:
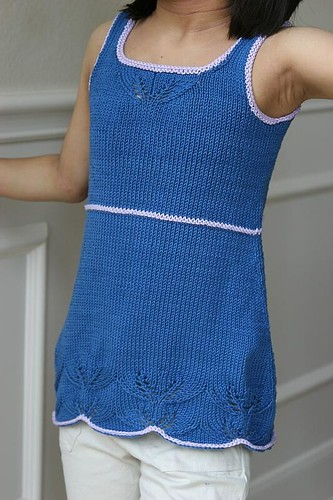
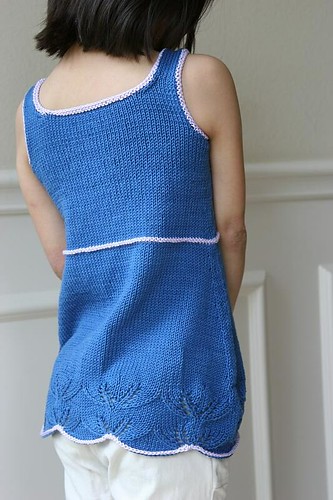
    I modified Nora's beautiful design into a tank for my daughter and knit it bottom-up in the round. The bottom section maintains the A-line shape, whereas the top is more fitted. The lace motif is repeated just once and centered for the top section. My daughter wanted to add lavender accents, and amazingly, I happened to have some leftover lavender Glace in my stash, so it worked out perfectly. The purl ridge row was added by first knitting 1 row in lavender and then purling the 2nd row before switching back to blue. The bottom edging was done after the main knitting was completed, and it came about because I messed up. I was so eager to get started that I went right to the directions for the lace and forgot to do the 2 rows of garter stitch that the pattern called for! So I went back and picked up stitches along the bottom edge using the lavender yarn, and then bound off in purl. The armhole and neck edge got a more substantial treatment--picked up stitches, purled 1 row, and then bound off in knit. I kept the bottom edging simpler because I didn't want it to overwhelm the scallops.
    Wednesday, May 28, 2008

    Wallis Cardigan


    Completed: May 2008

    Pattern: Wallis, Interweave Knits Summer 2008, by Melissa Wehrle

    Yarn: Ella Rae Silkience (49% Cotton, 39% Modal, 12% Silk, 8% Rayon), #13, 7 x 119yd/skein

    Notes:
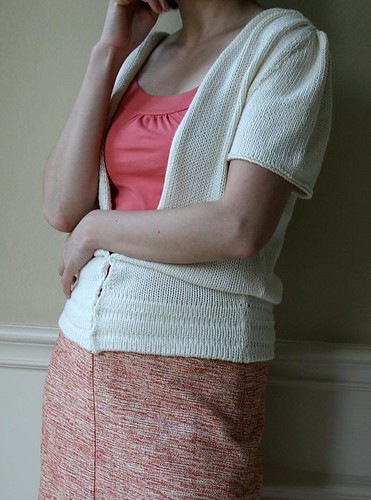
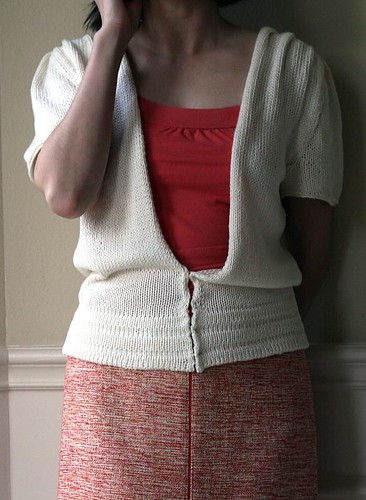
    This was a fun project. Double knitting makes a very interesting texture at the bottom of the cardigan, and the cast-on method was neat. I also like the front edging treatment that takes advantage of stockinette’s inherent curl.
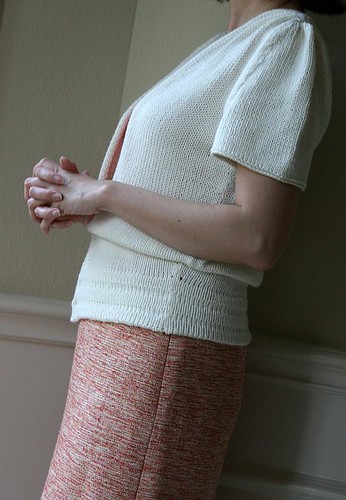
    The pattern has a few issues, though. There were a few times when it would direct you to work on a wrong-side row when you were actually on a right-side row, or vice versa. The diagram implies that the double-knit portion should be the same size as the bottom of the stockinette portion, but mine flares out–I’m not sure if this is my error or the pattern’s. For the left front, doing row 43 as written makes some purl bumps visible on the front of the garment, so I did that row the way the directions were written for right front instead.

    The only modifications I really made were to the sleeve. I did not like the look of stockinette curl on the bottom edge of the sleeve and wanted something that would look a little more tailored, like the rest of the garment. Also, the original sleeves ended up looking pretty huge on my frame, so I had to make them smaller and shorter. Here is how I did the sleeves:
  • CO 67st with smaller needles using cable cast on
  • Starting with RS, do 2 rows of stockinette
  • Switch to larger needles, then do 1 row of reverse stockinette, followed by 7 rows of stockinette, omitting decreases
  • Shape cap according to directions–31 sts remain
  • Purl 1 WS row
  • * k1, k2tog, rep from * to last stitch, k1
  • Then complete cap as directed


  • Sunday, April 27, 2008

    Drop Stitch Lace Tank


    Completed: April 2008

    Pattern: Drop Stitch Tank, Fitted Knits, by Stephanie Japel

    Yarn: Feza Lisa (100% Nylon), #565, 3 x 209yd/skein

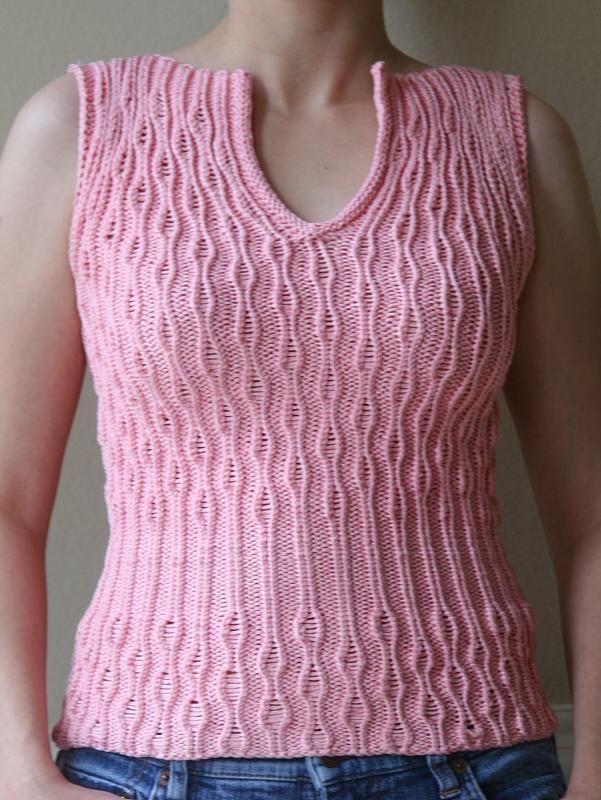
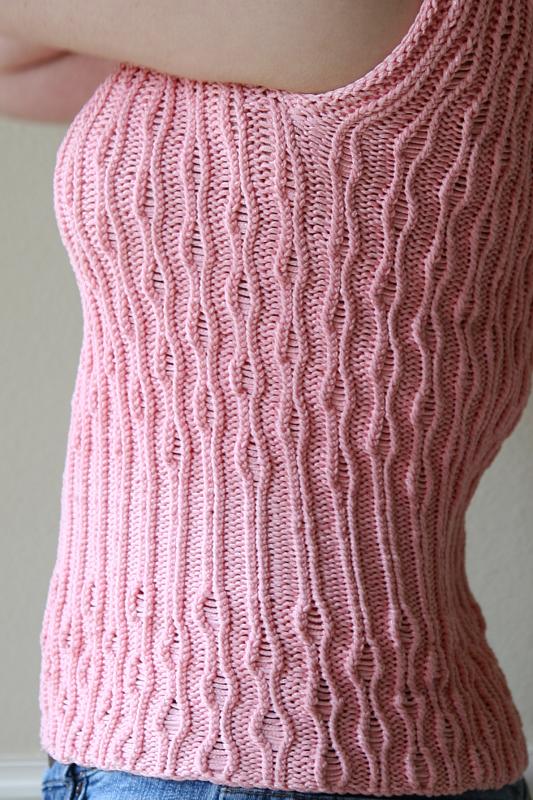
    Notes: If you are knitting this, don't forget to look at the errata. I knit this in the round, basically following the directions that had been posted to the KAL, including the part about knitting through the backs of stitches. To make the pattern go all the way around without interruption, I cast on a multiple of 8 stitches (only 136 to make sure it wasn't too big for me, since a lot of people had problems with that, and to make sure I didn't run out of yarn!). I included ribbing on the back, moved the ribbing section up closer to my natural waist, moved the neckline up, and omitted the buttonholes/buttons.

    I wanted to divide for the 2 front sections in such a way that there would be symmetry. It's divided up the middle of one of the knitted (as opposed to purled) sections. It's a minor thing, but I think it would have irked me otherwise. To make the math work out, though, it meant that I had to put more stitches on the front than in the back when making that division. I made the choice to divide for front/back in the middle of a knit section too. Because it's all so strethcy, you can't really tell that there are 8 more stitches for the front than for the back. If you want to do the same, you would
  • cast on N number of stitches, where N is a multiple of 8 (in my case, 136)
  • reserve (N/2) + 4 stitches for the front (in my case, 72)
  • leaving (N/2) - 4 stitches for the back (in my case, 64)


    I worked a smaller neck edging since I wasn't interested in placing buttons. To do this, I picked up stitches as directed, then worked 3 rows in reverse stockinette and finally bound off in stockinette pattern. I put in an armhole edging too because my edge stitches there were u-g-l-y! For the armholes, I picked up stitches just like the neckband, did 1 row of reverse stockinette, and then bound off in stockinette pattern. The armhole edging was worked in the round using magic loop.
  • Monday, April 7, 2008

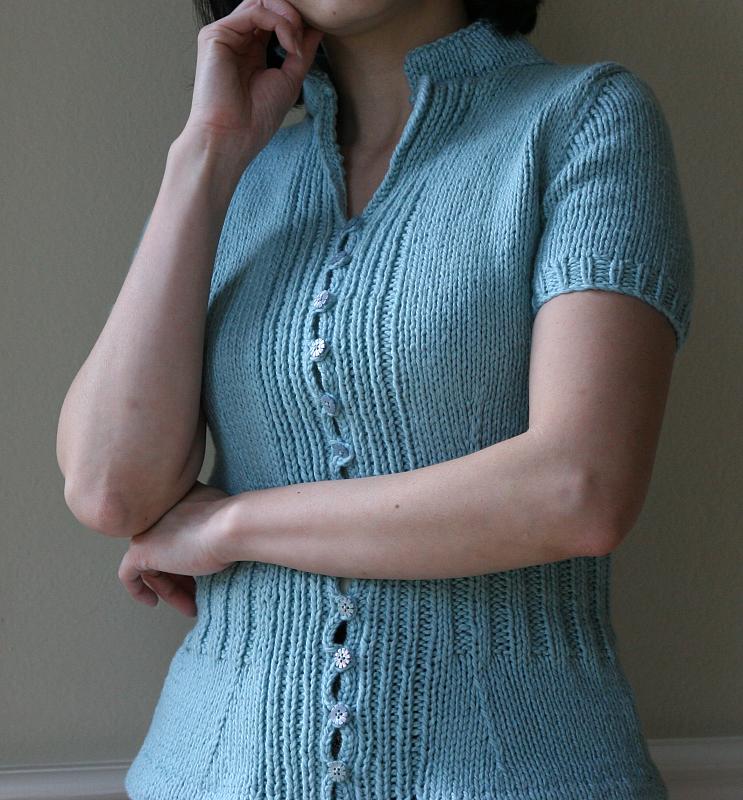
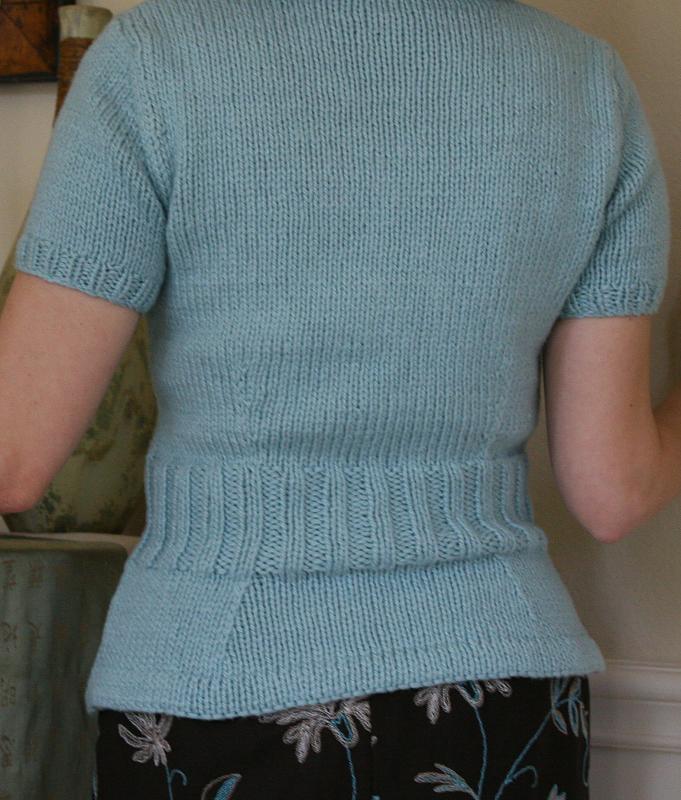
    Mirabella


    Completed: April 2008

    Pattern: Mirabella, Interweave Spring 2008, by Jennifer Tallapaneni

    Yarn: Blue Sky Alpacas Dyed Cotton (100% cotton), #628, 3 x 150yd/skein

    The yarn is scrumptiously soft--the texture and colors available all remind me of cotton candy. Despite this, I still had problems with a little crampiness in my hands working it on size 8's. I have read comments on Ravelry about it holding out well, but I've also read comments about it pilling terribly. Hopefully at this this gauge, it won't pill *too* badly. Keep your fingers crossed!

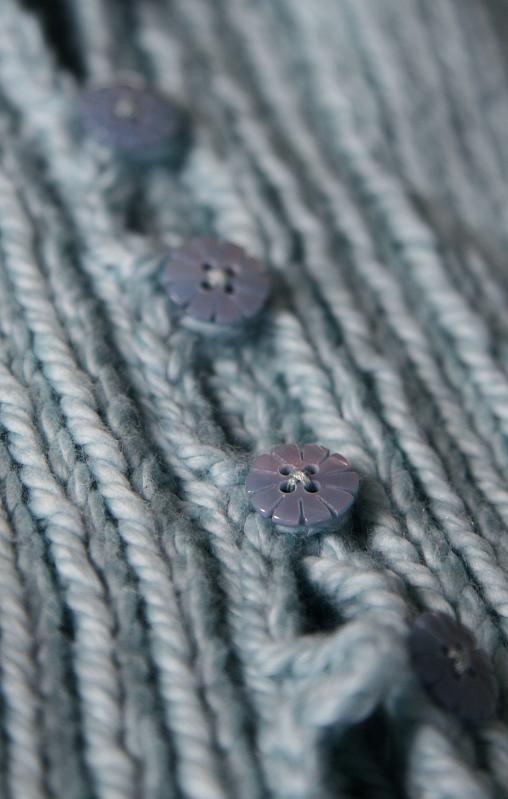
    Notions: La Mode button style #37475

    Notes:
    I love all the details included in this pattern and have learned some useful techniques, such as double knitting and using slip stitches to produce the look of darts. The pattern is very well done and I essentially did no tinkering. The only minor exception to this is the number of stitches cast on for the sleeves. The 33" size calls for 35 stitches to be cast on, but all of the other sizes call for an even number of stitches. So I cast on 34 stitches to ensure that the K1P1 ribbing pattern would be maintained after seaming. When I did the button loops, I found that it was difficult to fit a 1/2" button through, so I used 4 stitches (or whatever is the appropriate crochet term) for each loop. I knit everything else according to the pattern and am so pleased!