
Completed: July 2009
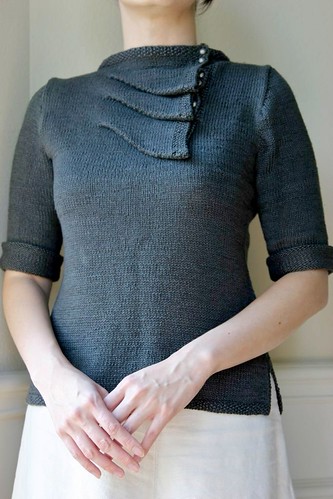
Pattern: Akogeomi, Interweave Knits Summer 2009, by Olga Buraya-Kefelian
Yarn: Louet Euroflax Sport Weight (100% linen), #charcoal, 1.75 x 650y/0.5lb cone
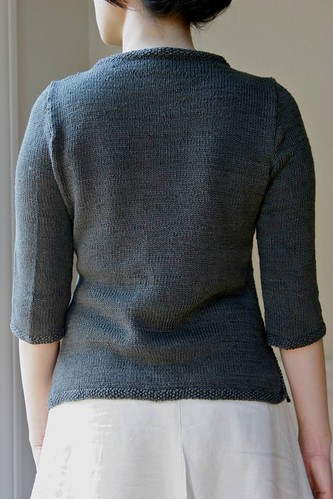
Notes: I made the vents only 3” instead of 4” and continued seed stitch on either side of the vents for 3 rows after joining. This was in lieu of going back and stitching up the top part of the side slit as the pattern suggests.
I added waist shaping and was so pleased to see that had been part of Olga’s original vision. My waist shaping is made at the sides, though, not as darts.
My swatch gauge is 24st, which is different from the pattern’s. I used that to my advantage, though, to be able to knit a 34” top following the 32” directions (this gave me 2" positive ease).
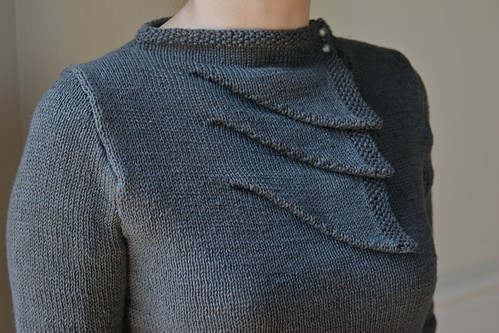
I did some calculations and made the armholes 1/2” less deep and made only 3 instead of 4 pleats. On the pleats, the first half is straightforward. The second half of the fold was confusing to me, and Olga was so kind to help. Basically, you incrementally work the wraps you made in the first half while making new ones. I’m not sure if it’s an error or not, but the directions tell you to work to 2 sts before your last wrapped st, but it seems to me you’re actually working 2 sts past the last wrap stitch you had made. For example, on the smallest size, you work 4 sts on row 1 (working the wrap with the 3rd st) and wrap the 5th st. When you come back on row 3, you work 4 sts, work the 5th st with the wrap you had just made, work the 6th st with the wrap you made from the first half, and then wrap the 7th st. Once you get going, it’s a lot easier to do than it looks to read.
There is a minor error in the directions for the shoulder shaping on the right front (as of 6/28/09). It should say “Row 2 and all WS rows…”
After splitting for the armholes, I kept the 2 sides of the front joined until I was ready to do my first pleat (I omitted the bottom pleat from the pattern). I then worked on the right front first, followed by the left front, and then finally the back. I just figured that since the right front was more complicated (especially since I made slight mods), that it would just be easier to make the rest of it match that part than the other way around. For the left front, rather than casting on stitches for the buttonband, I picked up stitches behind the corresponding stitches on the right front piece. For the collar, I only did 2 rows of stockinette before switching to seed stitch.
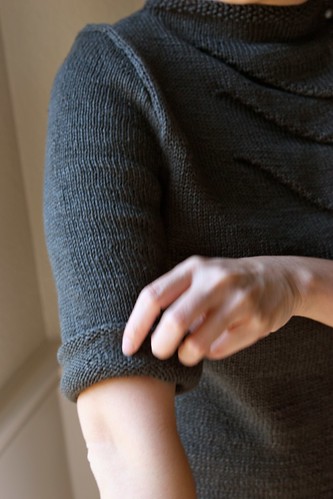
The sleeves are 3/4 length and roll up to 1/2 length. I did give myself a bit more ease in the upper arm than what the pattern has, and the sleeve cap is 1/4” shorter (since I changed the armhole). I decided to do without the sleeve tab.
Doing this as a mini-KAL with Sylphette was so helpful and kept me motivated! I could only work on this a little bit at a time. Otherwise, the yarn would have been really hard on my hands. In the end, though, after a good washing and drying, it feels really nice!
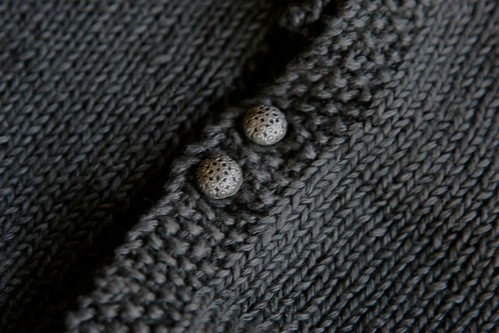
The buttons are La Mode Style #24793.
2 comments:
omgosh i love the colour and buttons! that's fabulous :)
I thoroughly enjoyed this blog thanks for sharing.
Post a Comment